Some of the many great views Odoo can offer include list view, form view, kanban view, graph view, pivot view, calendar view… But then, there is also the cohort view – underestimated functionality that should receive much more attention than it does. When you need to analyze not how your data looks at a particular point in time but how it evolves, then it's the cohort view you need – whether it is subscription analysis, churn analysis, or anything else.
The following article is going to explain how to create a small custom module that would add a cohort view to a new Odoo model 20. Nothing complicated, just the basics for starters.
Step 1: Set Up the Model
To create a cohort view, the model needs two date fields. The first date shows when the record entered the cohort, and the second shows when it left. In this example, we will use a model that stores employee check-ins:
python
# -*- coding: utf-8 -*-
from odoo import models, fields

class EmployeeCheckin(models.Model):
    _name = 'employee.checkin'
    _description = 'Employee Checkin'
    _rec_name = 'employee_id'
    employee_id = fields.Many2one('hr.employee', string='Employee')
    department_id = fields.Many2one(related='employee_id.department_id', string='Department', store=True)
    checkin_date = fields.Date(string='Checkin Date', required=True)
    active_status = fields.Date(string='Status Date', required=True)
In this case, checkin_date becomes our date_start, while active_status is our date_stop. There is nothing tricky here – it’s just two dates for our cohort view to digest.
Step 2: Don't Forget Access Rights
After creating the model, we need to give access rights to it. If this step is skipped, the menu will show an access error when a user tries to open it. Create a file named ir.model.access.csv inside the security folder of the module and add the following line:
id,name,model_id:id,group_id:id,perm_read,perm_write,perm_create,perm_unlink
access_employee_checkin,access.employee.checkin,model_employee_checkin,base.group_user,1,1,1,1
And remember that it must be referenced in the __manifest__.py file in the data section — so easy to write it without referencing it!
Step 3: Depend on web_cohort
The <cohort> tag is not part of Odoo core. It comes from the web_cohort module, which is available only in Odoo Enterprise. Add it to the depends list in the manifest. If it is missing, Odoo will not recognise the tag and will show an error that does not clearly point to the cause.
Python
{
    'name': 'Employee Checkin Cohort',
    'version': '20.0.1.0.0',
    'depends': ['base', 'hr', 'web_cohort'],
    'data': [
        'security/ir.model.access.csv',
        'views/employee_checkin_views.xml',
    ],
    'installable': True,
}
Step 4: Wire Up the Action
Add cohort to the list of view modes on your window action, right next to list and form:
Xml
<record id="employee_checkin_action" model="ir.actions.act_window">
    <field name="name">Employee Checkins</field>
    <field name="res_model">employee.checkin</field>
    <field name="view_mode">list,form,cohort</field>
</record>
Step 5: Build the Cohort View Itself
This is the core component of the module. Here, we will define a new record in the ir.ui.view object for our model, along with adding the <cohort> tag in its arch field. The properties provided by this tag dictate how the grid is created:
- date_start - the field that shows when the record becomes part of the cohort.
- date_stop - the field you measure against.
- interval - day, week, month, or year.
- mode - retention (start from 100% and decline) or churn (start from 0% and increase).
- timeline - forward or backward, that is, direction of counting columns.
Xml
<record id="employee_checkin_view_cohort" model="ir.ui.view">
    <field name="name">employee.checkin.view.cohort</field>
    <field name="model">employee.checkin</field>
    <field name="arch" type="xml">
        <cohort string="Checkin Analysis"
                date_start="checkin_date"
                date_stop="active_status"
                interval="week"
                mode="retention"
                timeline="forward"/>
    </field>
</record>
And one little piece of advice for you: if you are still experimenting and you don't have any data, use sample="1". This will fill your grid with some dummy data to make sure that you can actually see something there.
Step 6: Add a Menu
None of this matters if nobody can find it:
Xml
<menuitem id="employee_checkin_menu_root"
          name="Employee Checkins"
          action="employee_checkin_action"
          parent="hr.menu_hr_root"
          sequence="20"/>
Step 7: Install It and Actually Look at It
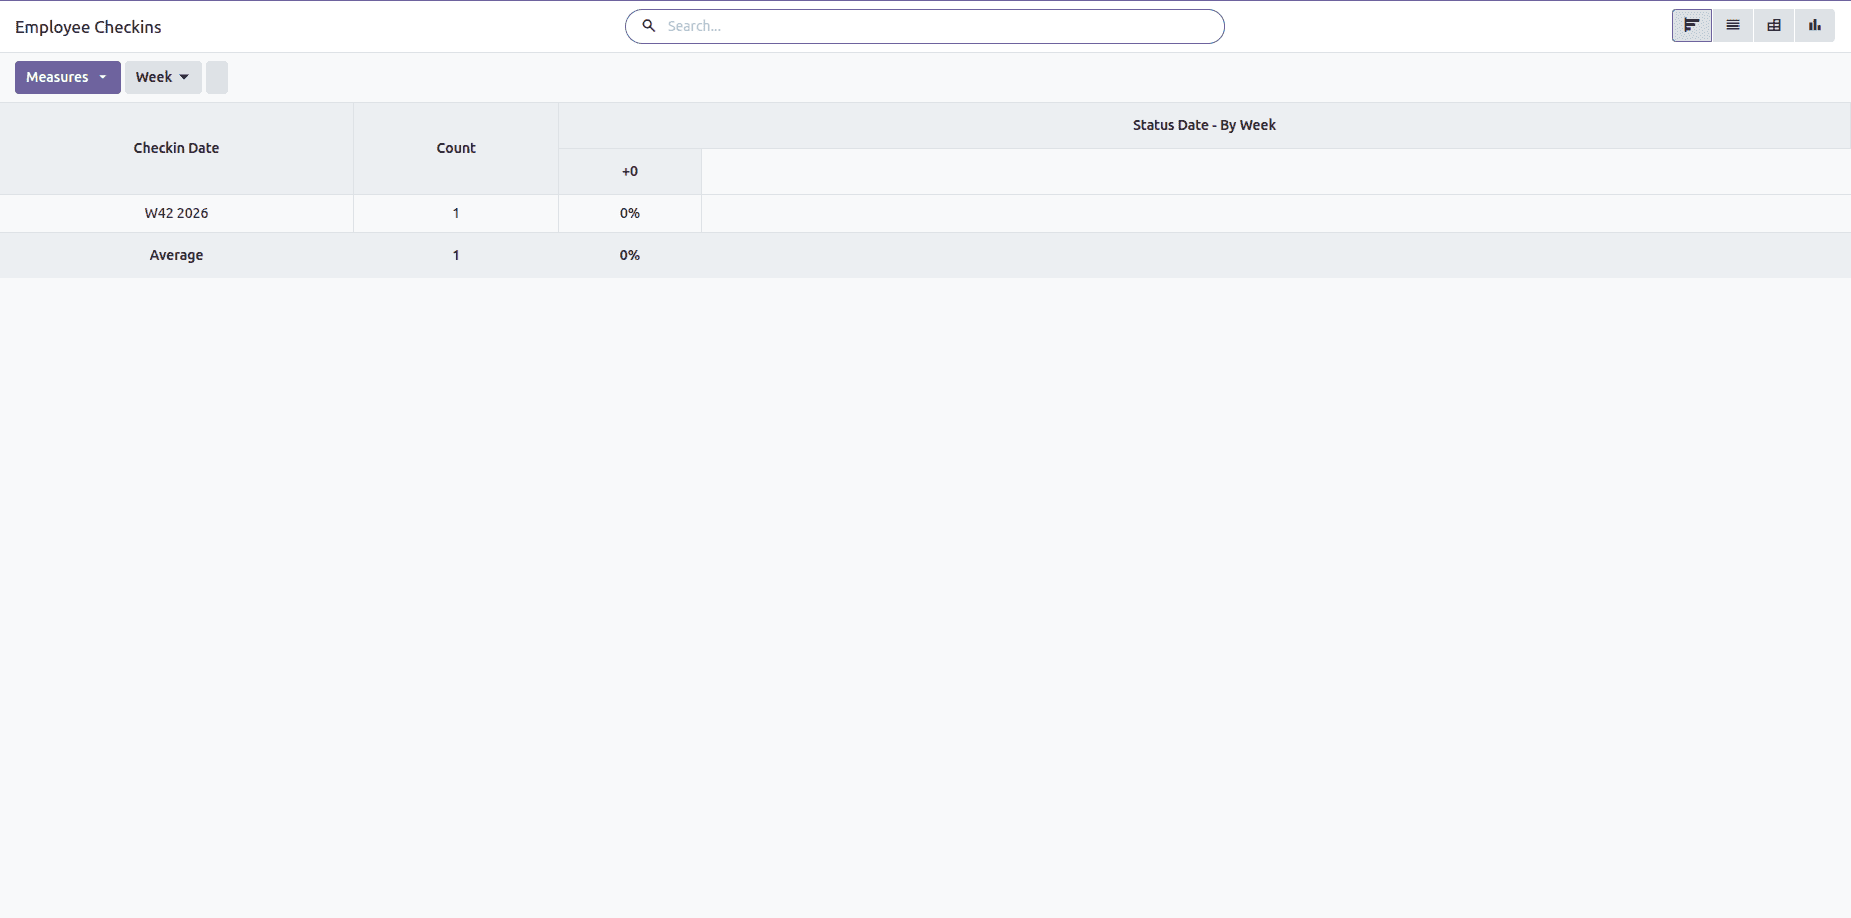
Let's refresh the Apps list and install the module on an Enterprise database. Now, open the Employee Check-ins menu. By default, the list view is opened, so let's create some records with different check-in dates and statuses. Next, press the cohort icon in the view switcher.
As you can see, the cohort view is presented in the form of a grid, where each line is a cohort built upon the selected interval. Each column is a period starting from the beginning of the cohort. Cells contain the retention/churn rate for this period. When you click on a cell, the records will be opened.
A Few Things Worth Knowing
- Date fields are required for date_start and date_stop. If there is no date_end on the model, we can take a different date field that represents the end of a record, for example, a cancellation or closing date field. The same date field for both attributes will imply that each and every record will have an immediate end, and the output will be useless.
- The cohort view is meant for analysis and hence is read-only. The records should be added and modified through the list or form view.
- This is how it is applied to any other models, like subscriptions, leads, or support tickets, etc. We simply need to map the date_start and date_stop attributes to the appropriate date fields.
Cohort analysis provides an easy approach to analyzing how records evolve through time. To build such an analysis, you will require a model with two date fields, the web_cohort dependency added to your manifest, the view with the date_start, date_stop, interval, and mode attributes, and the window action, which should have cohort among its view modes. As it is evident from the fact that the web_cohort belongs to Odoo Enterprise, it can be installed only on Enterprise databases. Once the above requirements are met, the following steps can be repeated for subscriptions, leads, or support tickets.
To read more about How to Create a Cohort View in Odoo 19, refer to our blog, How to Create a Cohort View in Odoo 19.