In the fast-paced world of retail, an efficient and user-friendly Point of Sale (POS) system is essential for streamlining operations. Odoo 18, the latest version of the renowned open-source ERP, offers a powerful and intuitive POS module designed to optimize your retail business. This blog provides a comprehensive guide to configuring your retail shop using Odoo 18 Point of Sale.
Key Features of Odoo 18 POS
Before starting the setup, here’s a glimpse of what Odoo 18 POS brings to the table:
* Product Catalog Management: Organize products with details like pricing, inventory levels, and images.
* Efficient Transactions: Process sales smoothly, from quick cash payments to detailed invoices for business clients.
* Live Inventory Tracking: Monitor stock in real-time to prevent shortages or overstock.
* Customer Management: Build a client database for personalized service and targeted promotions.
* Insightful Analytics: Access reports on sales trends and inventory performance.
* Flexible Payments: Support multiple payment methods to suit customer preferences.
Getting Started with Odoo 18 POS
Ensure Odoo 18 is installed, choosing either the Community or Enterprise edition based on your needs. To enable the POS module:
1. Log in to the Odoo dashboard.
2. Go to the Apps menu, search for Point of Sale, and install it.
3. Open the Point of Sale module to view the POS Dashboard.

From the Dashboard, initiate a new POS session by clicking New Session in the shop’s list view. Alternatively, create a new shop via the Configuration menu’s Settings window, where you’ll find the New Shop button.
Creating a New Shop
Clicking New Shop opens a setup wizard where you can:
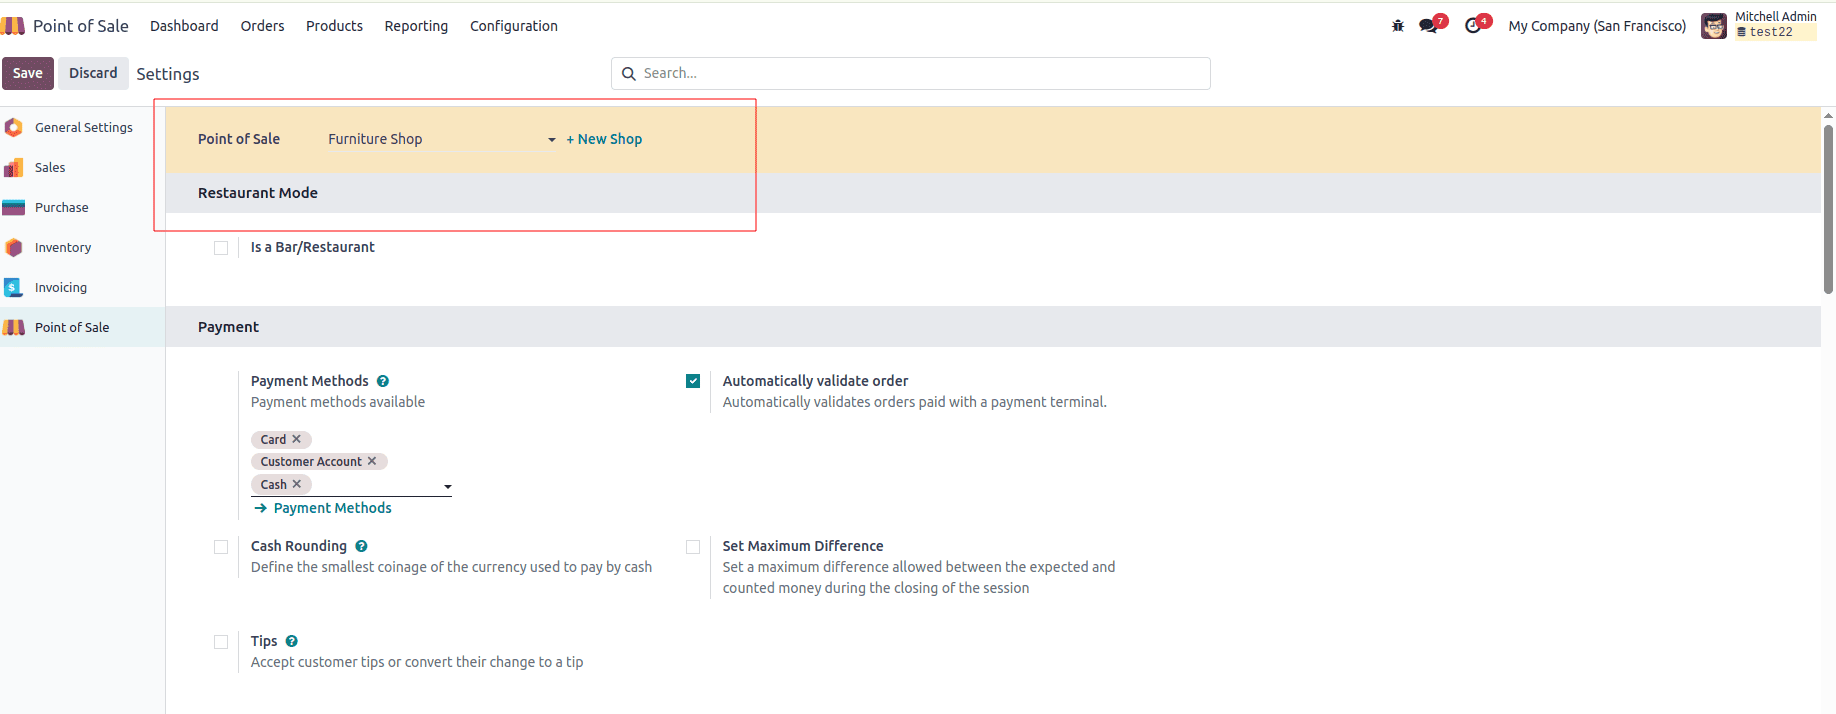
* Specify the Point of Sale / Shop Name.
* Optionally activate Bar/Restaurant Mode (leave unchecked for a standard retail shop).
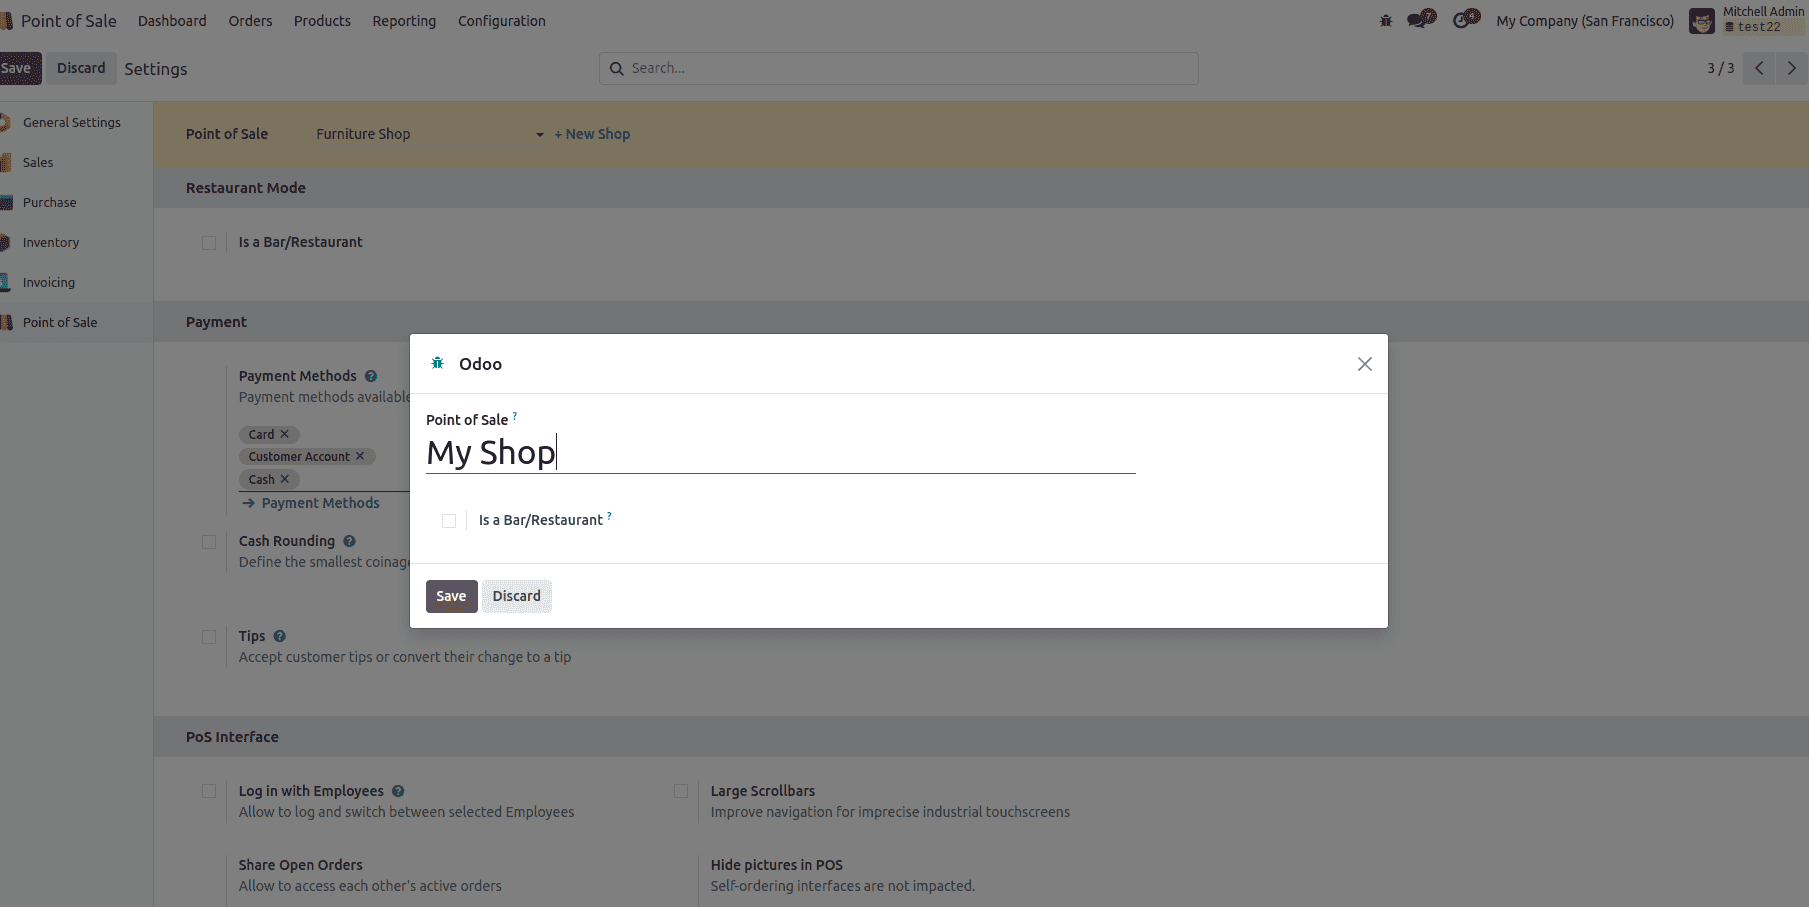
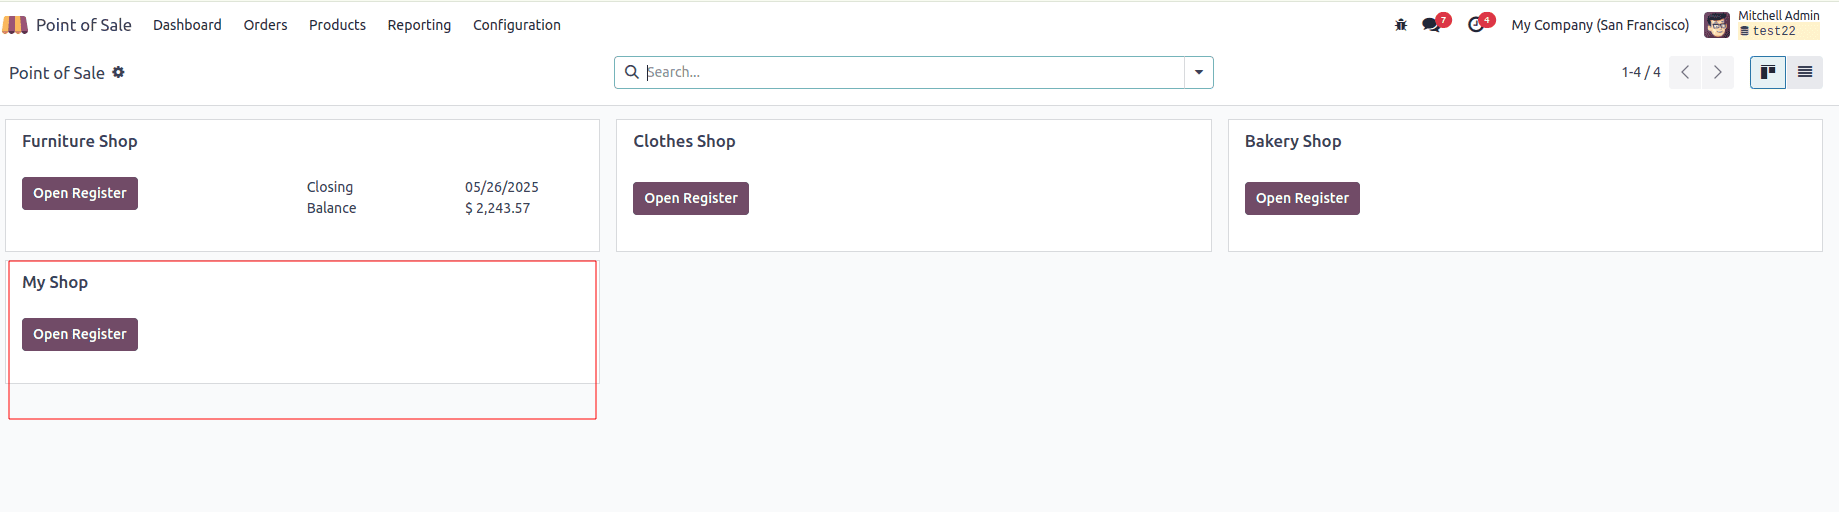
After entering the shop details, click Save and return to the POS Dashboard to view the new shop. Click New Session to open the shop interface, but before starting sales, configure the following essential settings.
Configuration Steps
1. Setting Up Products
Add products to your shop by navigating to the Products menu and selecting Products. Create or edit products with details such as Name,Description,Category,Price,Images for visual appeal
This process aligns with product configuration in other Odoo modules like Sales or Inventory.

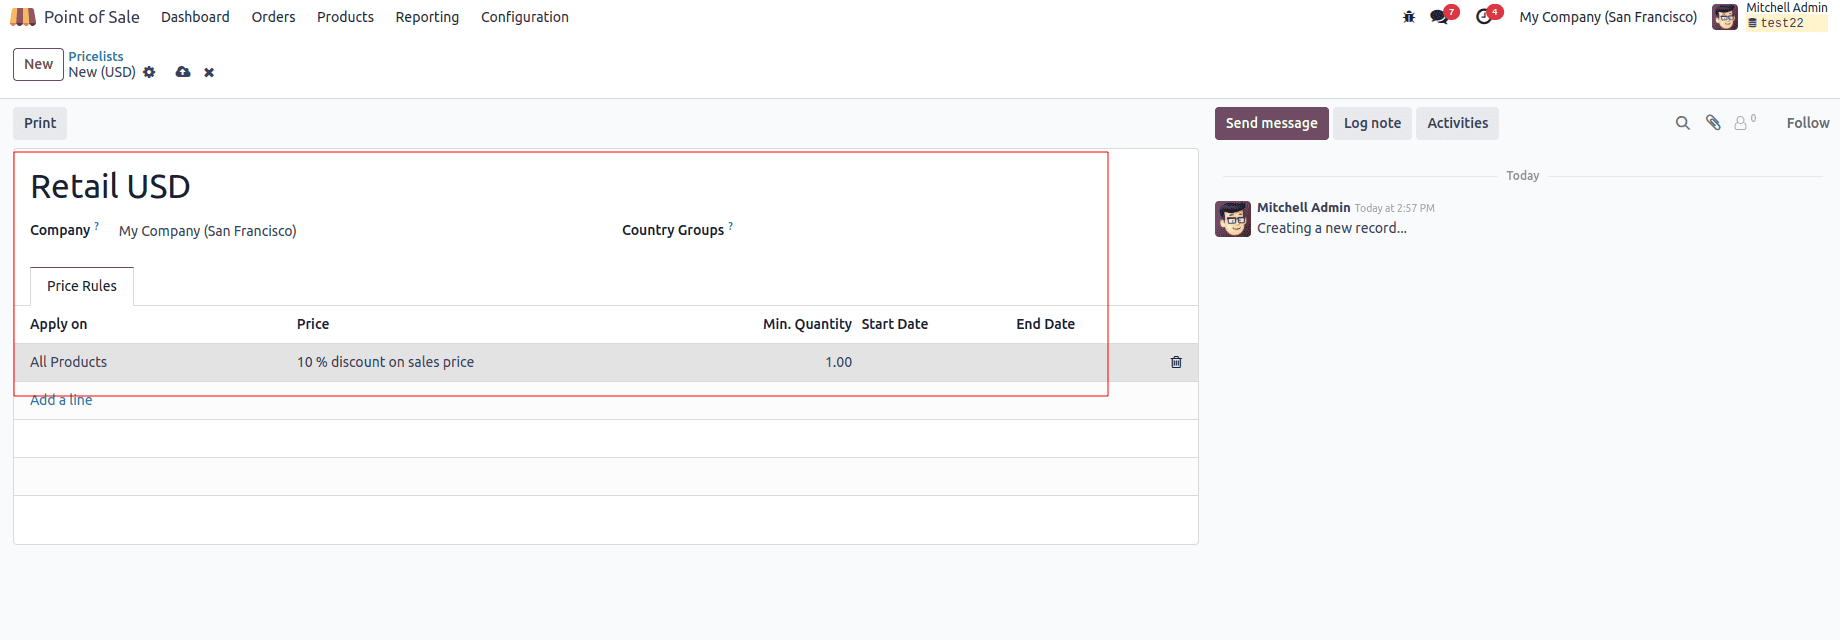
2. Setting Up Price Lists
Odoo 18 allows you to create multiple price lists for different customer segments or promotions. Navigate to Products > Pricelists to define price lists based on: Customer types,Quantity discounts,Seasonal promotions
For example, select or create a pricelist like "Retail USD" tailored to your shop’s needs.
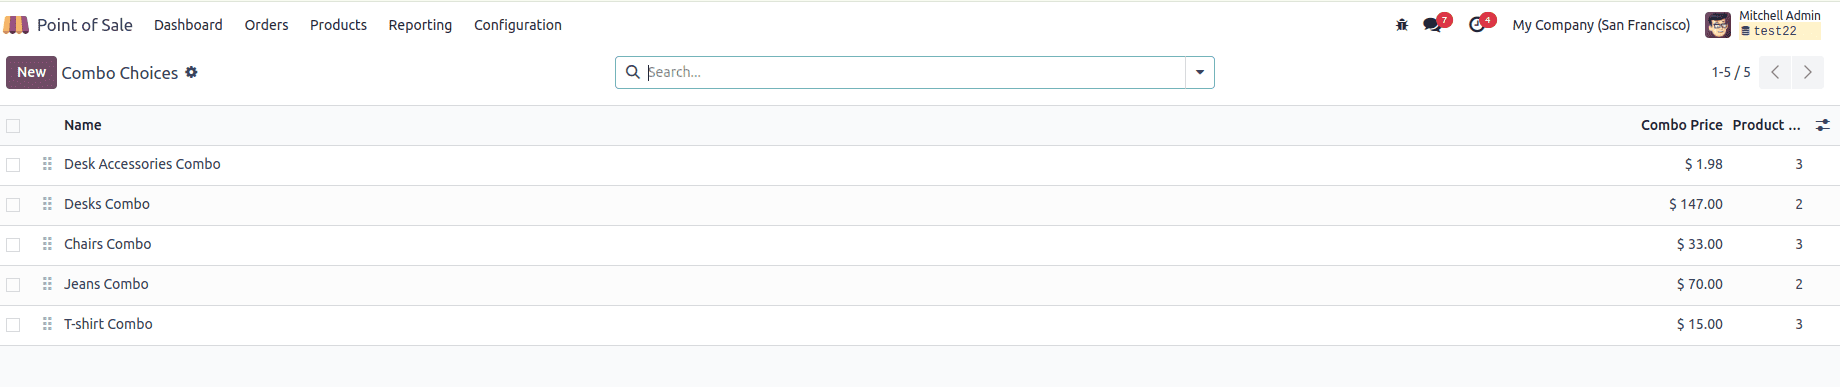
3. Creating Product Combos
Odoo 18 enhances product bundling. Navigate to Products > Product Combos to group related items, encouraging sales and simplifying purchases.
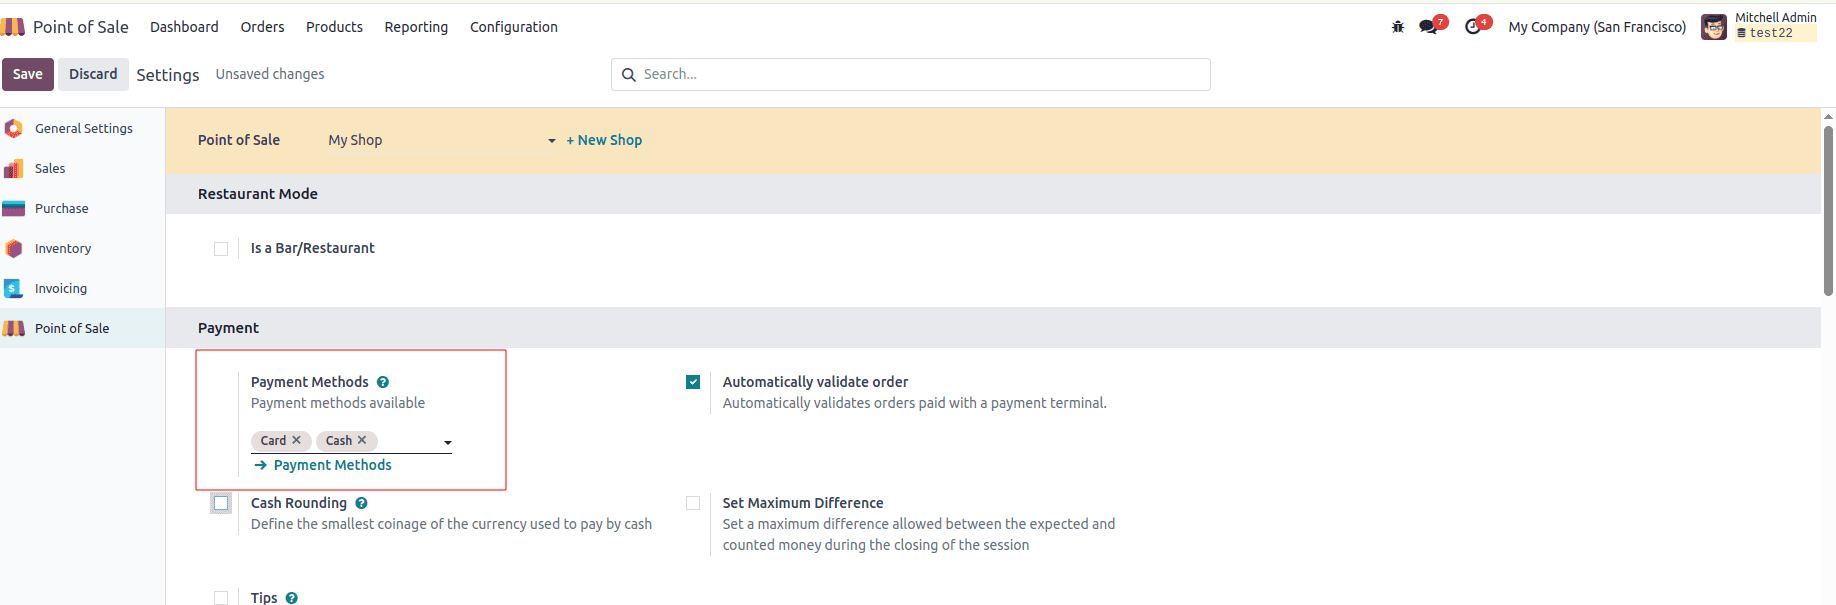
4. Configuring Payment Methods
IStreamline payments by integrating preferred methods. In the Settings window’s Payments tab:
* Select predefined payment methods (e.g., cash, credit cards, mobile payments).
* Create custom payment methods via the Payment Methods link if needed.
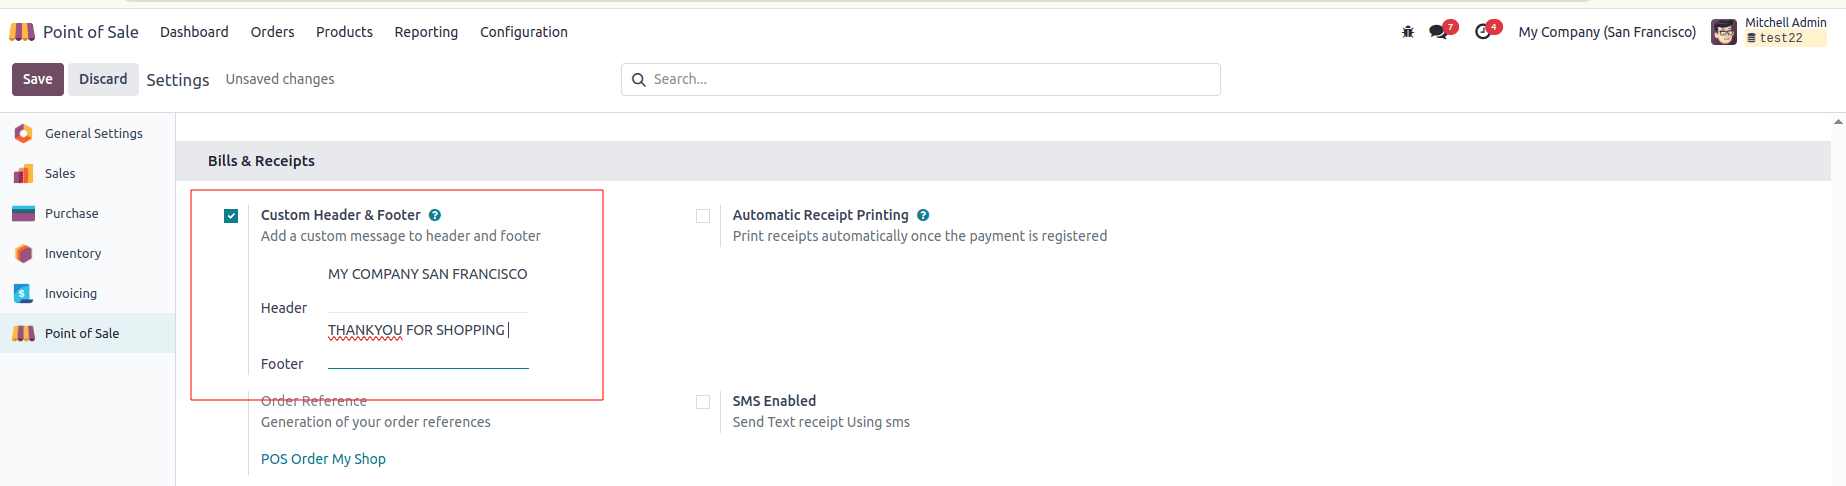
5. Personalizing Receipts
Personalize receipts to reflect your brand. In the Settings window’s Bills & Receipts section, add your company logo, contact details, additional information for professionalism.
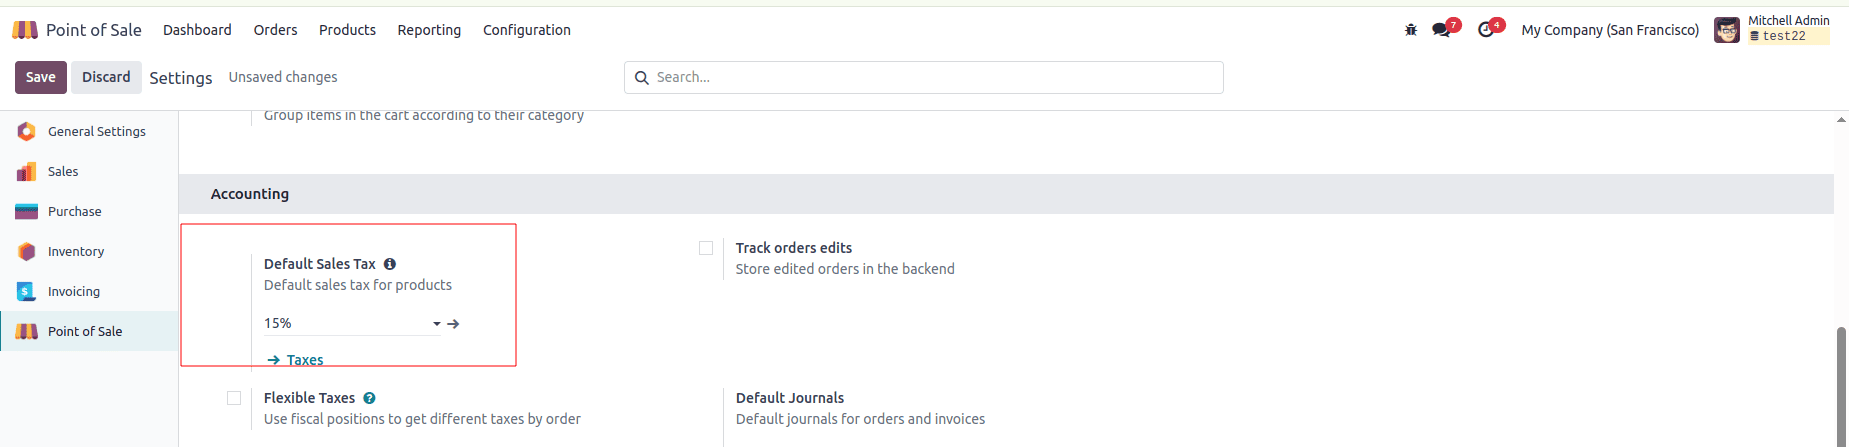
6. Setting Sales Taxes
Comply with local tax regulations by configuring taxes. In the Settings window’s Accounting tab, set:
* Default Sales Tax
* Flexible Taxes for specific products
* Fiscal Positions based on location or customer type
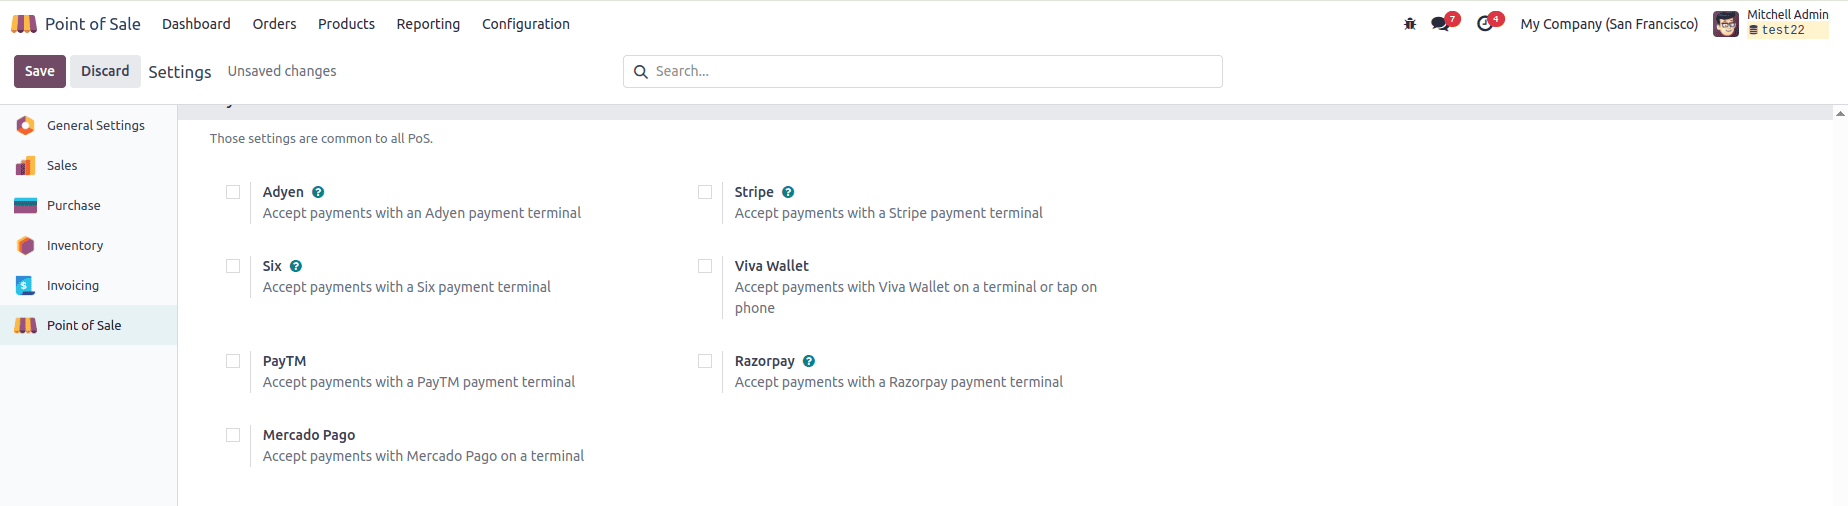
7. Integrating Payment Terminals
Enable payment terminals for diverse payment options (e.g., debit/credit cards). In the Settings window, configure integrations with providers like Stripe, Adyen, or Paytm.
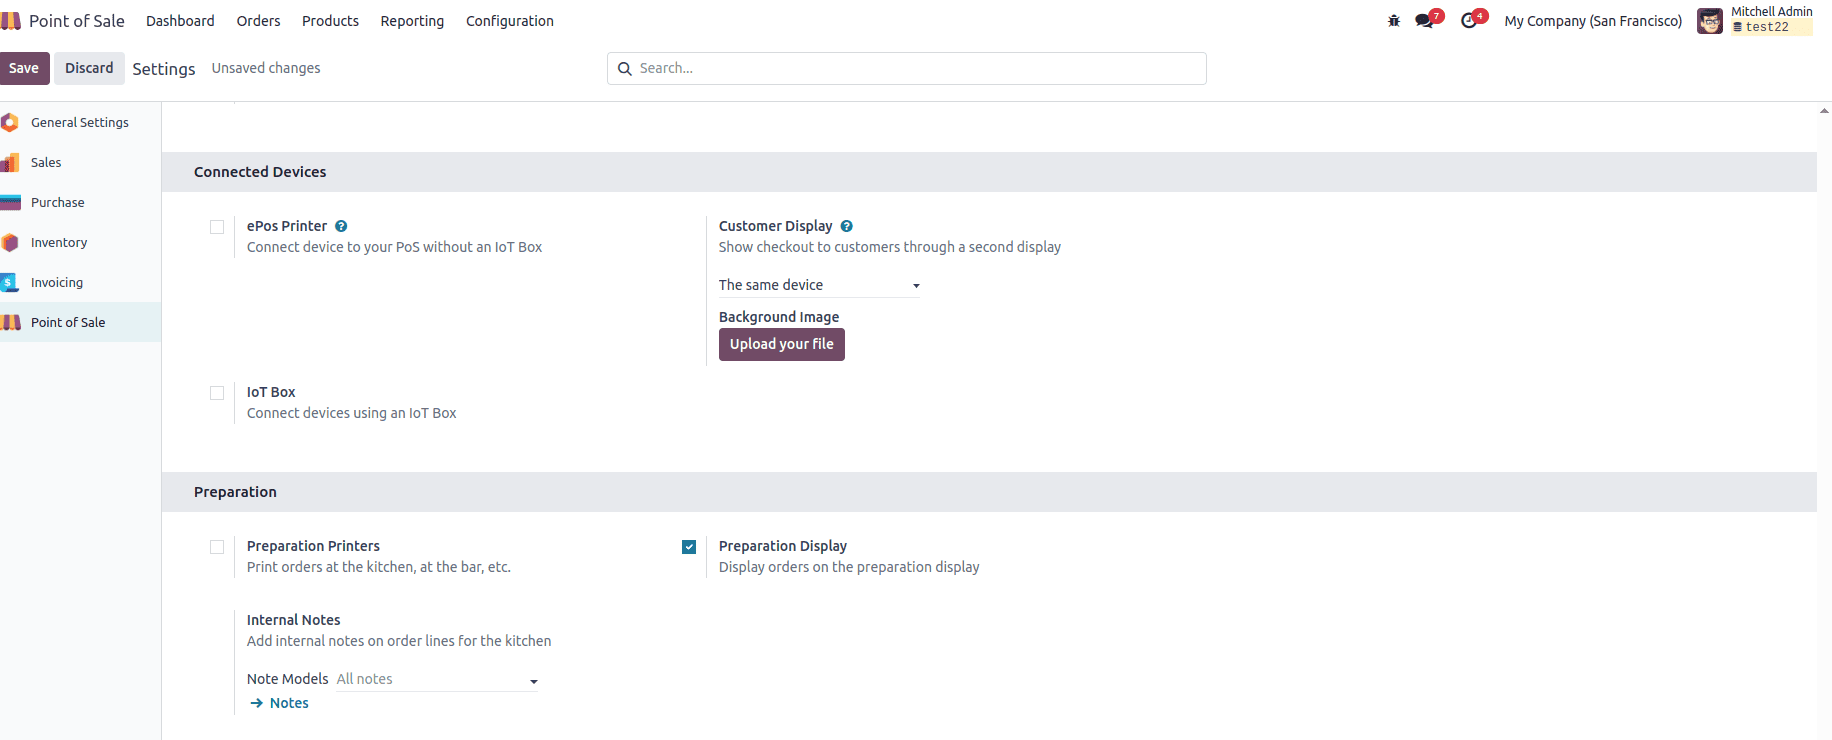
8. Connecting Hardware
For shops using devices like barcode scanners, receipt printers, or cash drawers, configure them in the Settings window’s Connected Devices tab. Odoo 18 supports seamless hardware integration, with or without an IoT Box. Test devices thoroughly before going live.
Running the Shop and Handling Orders
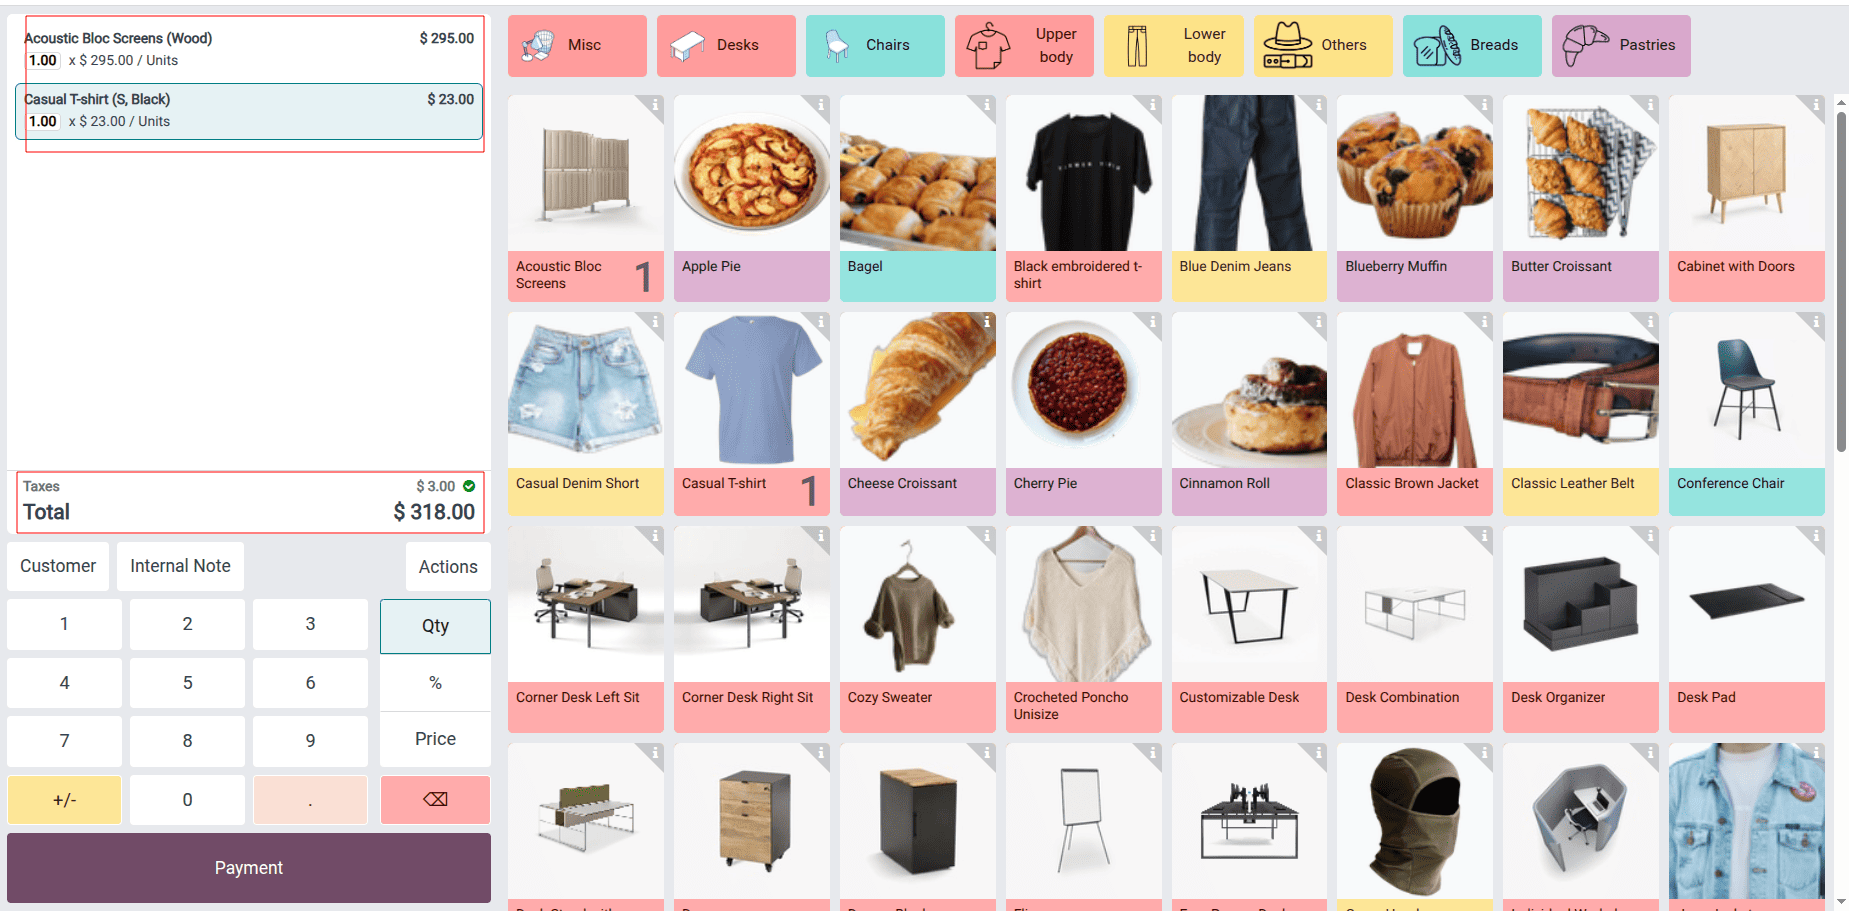
From the POS Dashboard, select your shop and click New Session to open the store interface. The interface showcases products with names, prices, and images, organized by categories (e.g., Clothing, Electronics, Accessories).
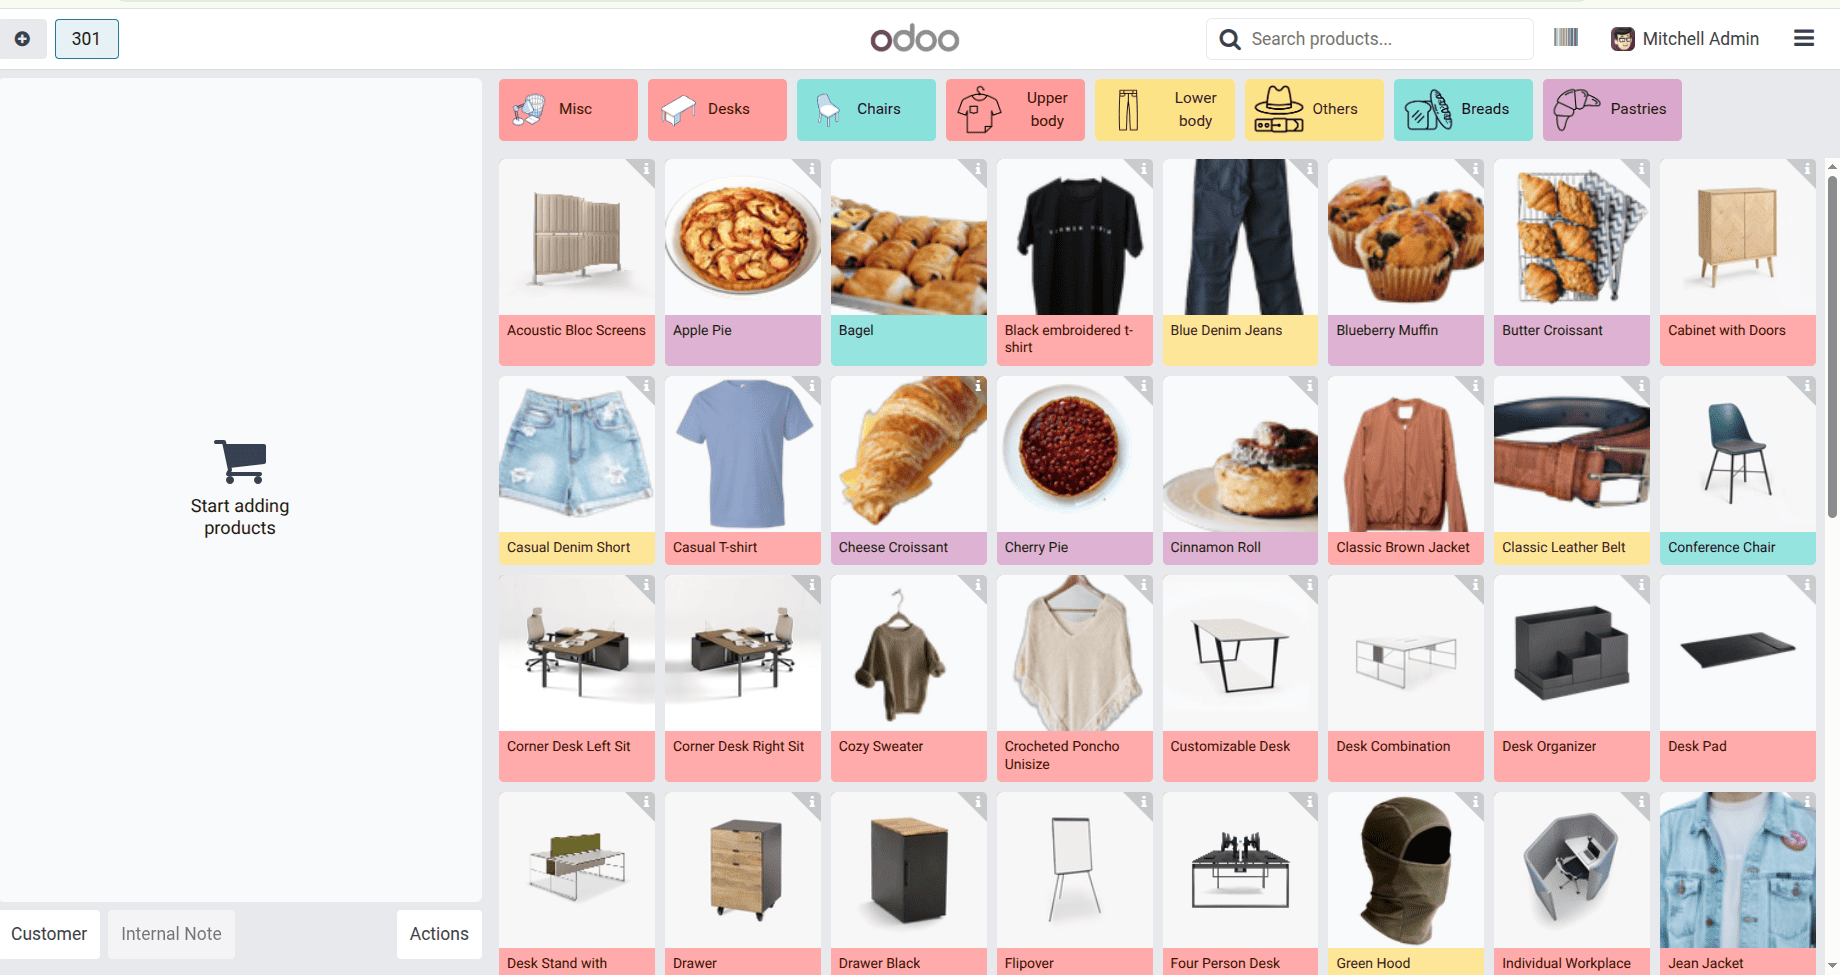
Placing Orders
* Select products to create an order.
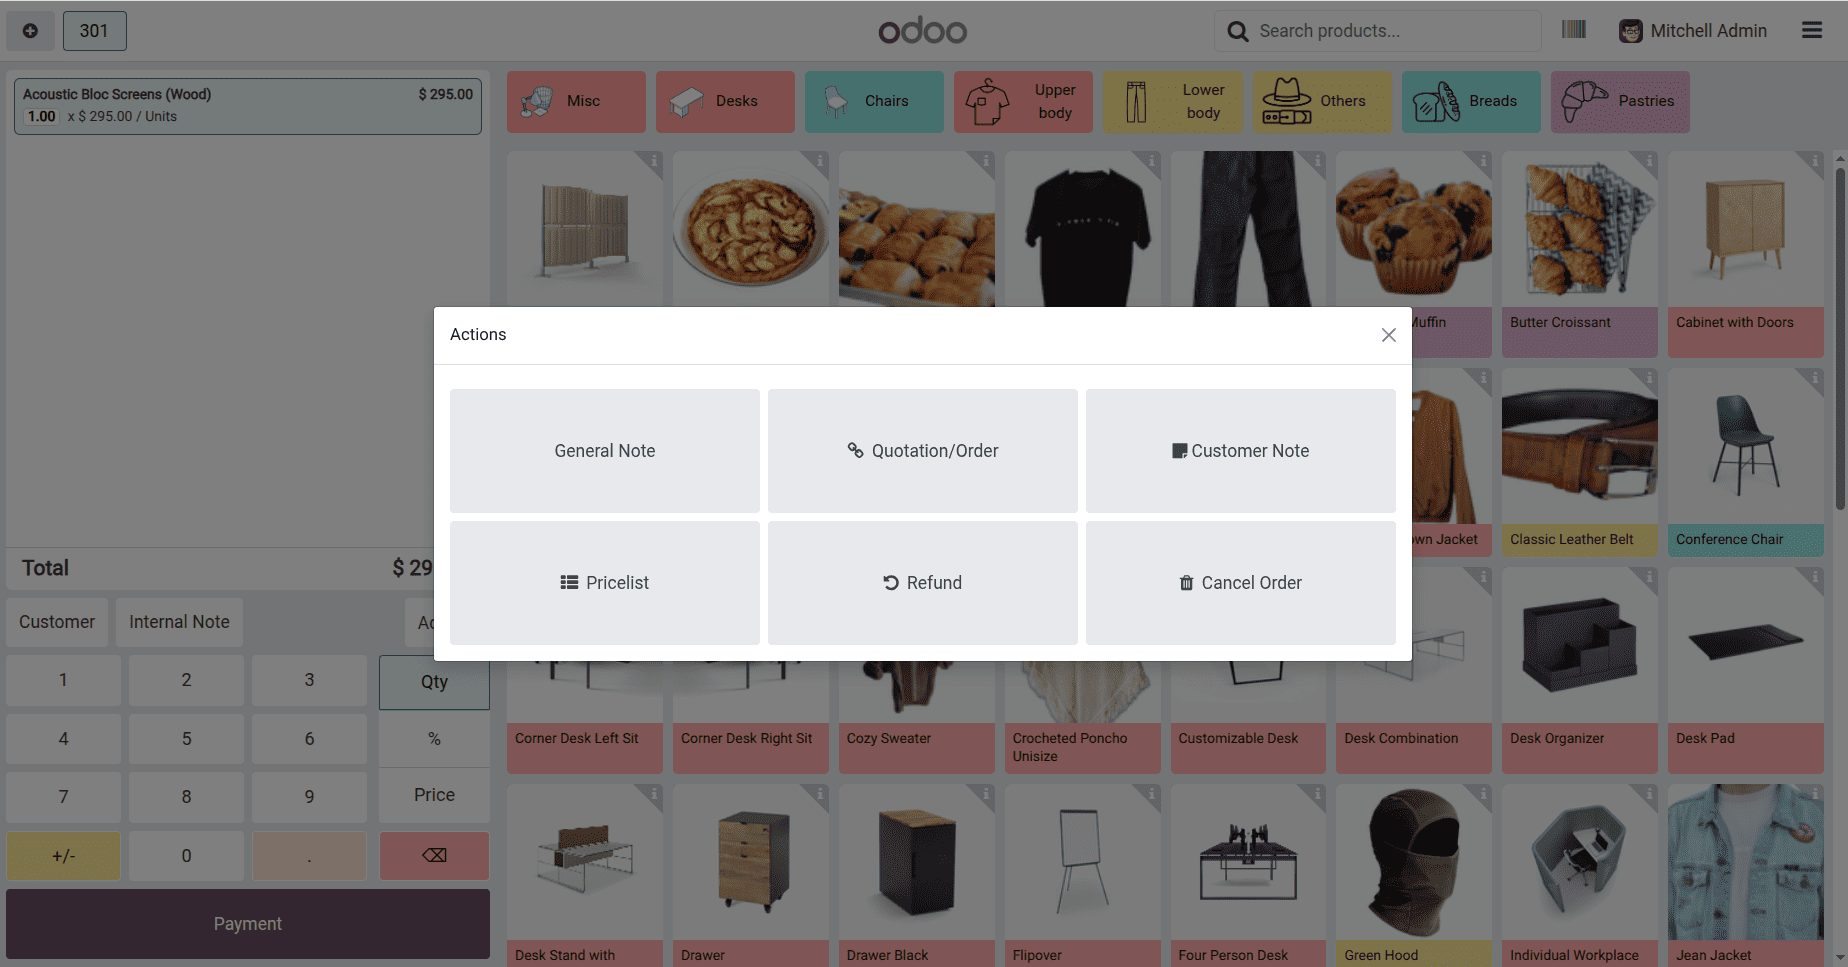
* Check order details (unit prices, quantities, total) on the left.
* Use Customer Notes for special requests or Refund for returns.
* Review the order summary, including subtotals and taxes.
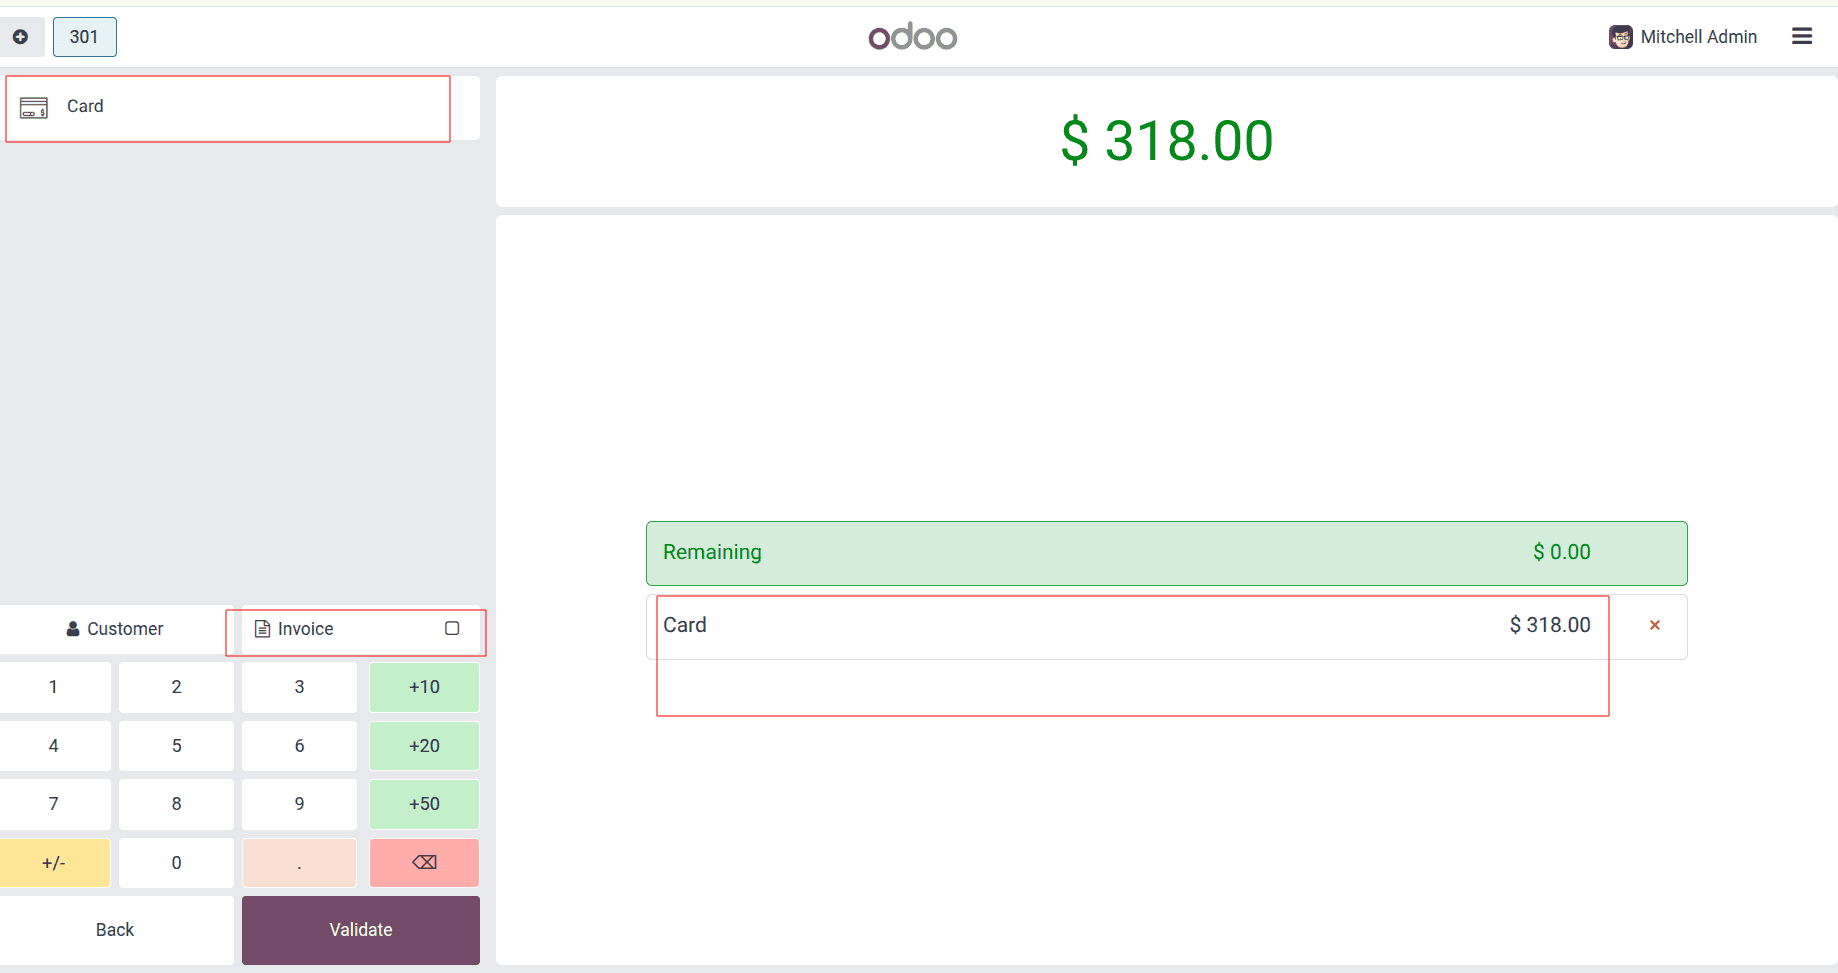
Processing Payments and Invoices
* Click Payment to access the payment screen.
* Select a payment method (cash, bank, customer account).
* Enter the payment amount and click Validate.
* Generate an invoice using the Invoice button.
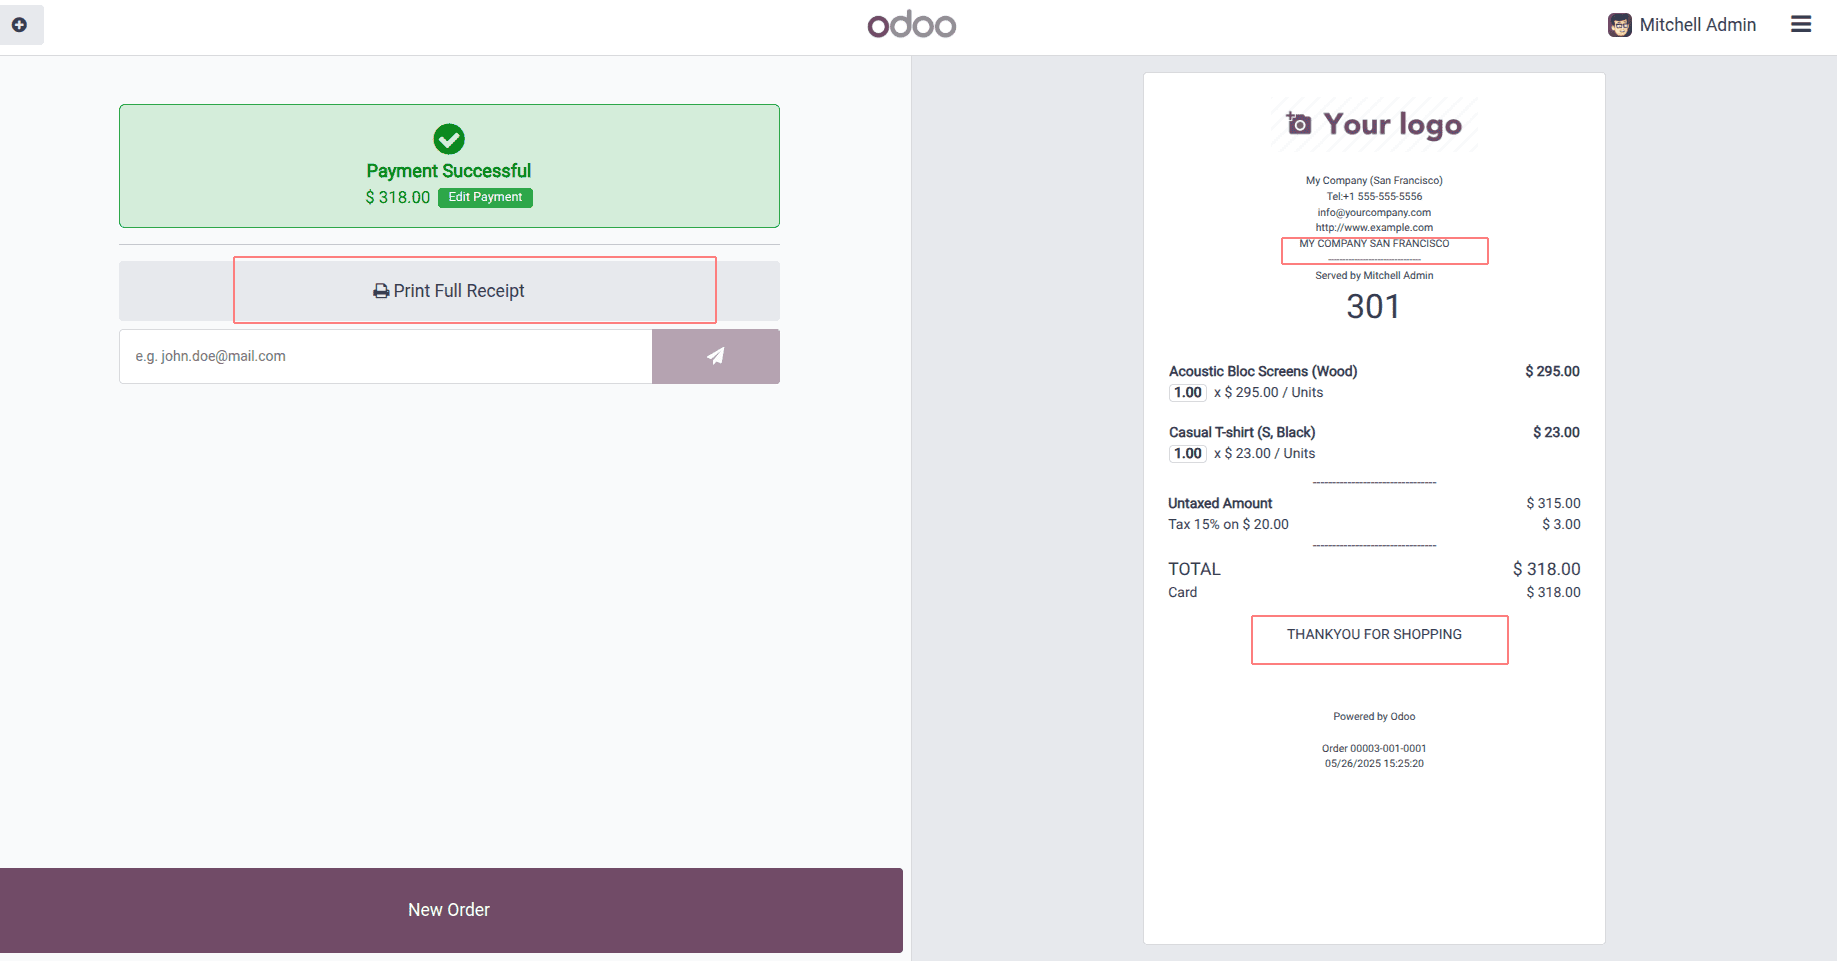
Printing Receipts
* Click Print Receipt to print or email receipts.
* Use New Order to start a new order without returning to the shop window.
Also we can see the header and footer that we added in the receipt.
Managing Sessions
Track sessions via the Orders tab’s Sessions option. This opens the POS Dashboard, displaying active sessions and their details.

Setting up your retail shop with Odoo 18 Point of Sale optimizes operations and enhances customer experiences. This step-by-step guide helps you customize the POS system to fit your business needs. With Odoo 18’s flexible and user-friendly POS module, you can adapt to market changes and stay competitive.
To read more about How to Configure the Retail Shop in Odoo 17 POS, refer to our blog How to Configure the Retail Shop in Odoo 17 POS.