Odoo 19 maintains the robust modular architecture found in previous versions, providing extensive flexibility for customization. A fundamental and versatile customization technique involves extending existing models through inheritance while integrating new menu options.
This tutorial demonstrates the process by working with the purchase.order model as a practical example. Whether your goal is to optimize business processes or establish quick access to commonly used functionality, this methodology preserves compatibility during system upgrades while maintaining code organization and clarity.
Creating a Custom Module
Prior to implementing customizations, it's crucial to develop within a dedicated custom module to guarantee long-term maintainability and seamless upgrade processes.
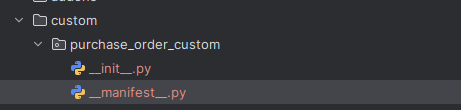
In order to create a custom module, we need to create a directory with the name ‘purchase_order_custom’ with __init__.py and __manifest__.py files inside a directory called ‘custom’.
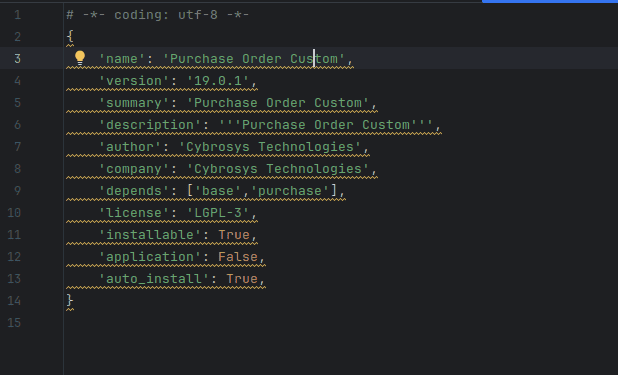
Now inside the __manifest__ file we can define the structure of our newly created custom module.
Inherit the Existing Model and View
Create a file in the newly created custom module inside the models directory and name it purchase_order.py. Here is where we inherit the existing purchase model.
For this purpose, we can use the _inherit attribute which allows us to add new features to the existing model. Let’s see by adding a new field into the purchase order model.
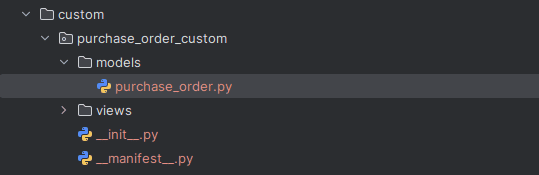
Now we can inherit the ‘purchase.order’ model. Now the model has been inherited. In this you can add fields, functions and many more without changing the existing model. Don’t forget to add the model file inside the __init__ file in the models.
from odoo import models, fields
class PurchaseOrder(models.Model):
   _inherit = 'purchase.order'
   custom_field = fields.Char('Custom Field')
We have added the field in the model. Now let’s see how the purchase order view is inherited and the added field is shown in the view.
For that create a file named purchase_order_views.xml in the views directory and add the following. Also add this file inside the manifest file under data.
<?xml version="1.0" encoding="utf-8"?>
<odoo>
   <record id="view_purchase_order_form_inherit_custom_field" model="ir.ui.view">
       <field name="name">purchase.order.form.inherit.custom.field</field>
       <field name="model">purchase.order</field>
       <field name="inherit_id" ref="purchase.purchase_order_form"/>
       <field name="arch" type="xml">

           <xpath expr="//field[@name='partner_id']" position="after">
               <field name="custom_field"/>
           </xpath>
       </field>
   </record>
</odoo>
Add a Menu Item for the Model
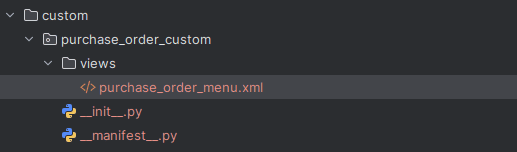
In order to add a menu item in the existing model, create a file in the newly created custom module and name it purchase_order_menu.xml inside views directory. This XML file defines the new menu along with its corresponding action.
In the XML, the <menuitem> tag is used to set the ID and name of the new menu. Before adding it, we first need the XML ID of the parent menu (Purchase). This can be found either by looking it up in the addons or by checking in the Odoo settings.
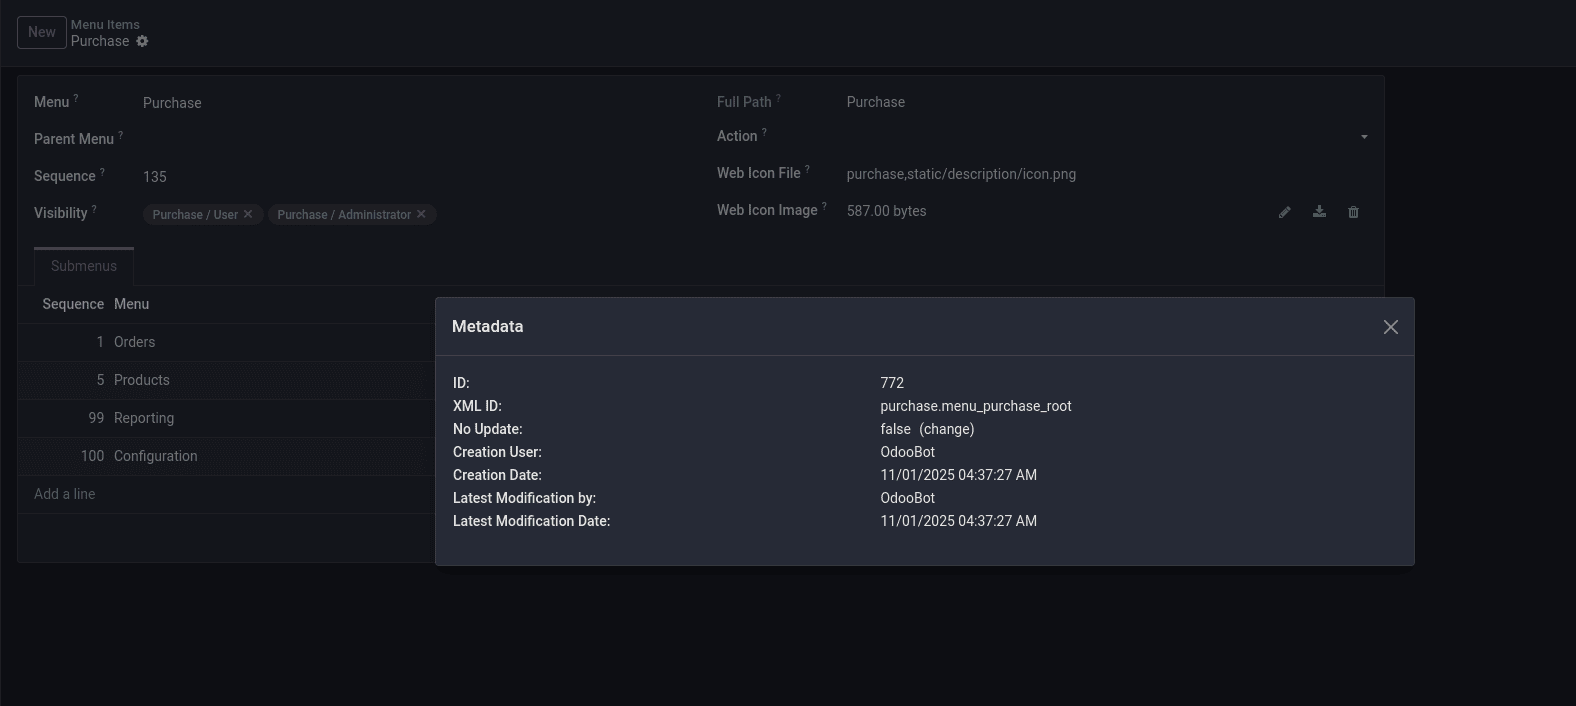
Navigate to General Settings > Technical > User Interface > Menu Items, then search for Purchase and locate the Purchase menu item. In its metadata, you’ll find the XML ID, which can be used as the parent reference for adding a new menu under the Purchase module.
You can set this as the parent in the <menuitem> tag within the XML file. To add functionality to that menu, you can link an action to it as shown below:
<?xml version="1.0" encoding="UTF-8"?>
<odoo>
   <record id="create_order_action" model="ir.actions.act_window">
       <field name="name">Create Order Menu</field>
       <field name="res_model">purchase.order</field>
       <field name="view_mode">form</field>
       <field name="target">new</field>
   </record>
   <menuitem id="create_order_menu" name="Create Order"
             parent="purchase.purchase_menu_root" sequence="11" action="purchase_order_custom.create_order_action"/>
</odoo>
Load the XML File in Manifest
In order to load your menu and action successfully, make sure the file is included in your manifest.
{
   'name': 'Purchase Order Custom',
   'version': '19.0.1',
   'description': """Purchase Order Custom """,
   'depends': ['base','purchase'],
   'installable': True,
   'data': [
       'views/purchase_order_menu.xml',
       'views/purchase_order_views.xml'
   ],
   "license": "LGPL-3",
   "Application": False,
}
Install and Test
After completing the whole development, install your module. Once the module is installed, go to Odoo and open the Purchase module, where you can see a new menu that you have just created. When you click on that menu, a new form view to create a sale order will be opened.
In this way, you can inherit and add a menu to an existing model in Odoo 19 to extend its features without changing the original code. This helps you customize the system based on your needs while keeping it clean, organized, and easy to maintain.
To read more about How to Inherit & Add a Menu to an Existing Model in Odoo 18, refer to our blog How to Inherit & Add a Menu to an Existing Model in Odoo 18.