Odoo 18 gives users a smart platform to handle online stores in a better way. It helps businesspeople show and promote their products or services easily on their e-commerce site. Using the features provided in Odoo 18's Website Builder, you can design a customised eCommerce page tailored to your business needs, complete with menus and functionalities that align with your online store’s branding and goals. In this new version, making an eCommerce page and changing how it looks is simpler and more user-friendly.
When we start an online store, the most important thing is the product setup. This step is essential and must be carried out carefully to ensure a smooth setup. In Odoo 18, the Website module allows users to easily add and configure new products for their online store. It works seamlessly alongside the eCommerce module, enabling a fully integrated product management experience for your website. That’s why, from the Website module itself, we can do most of the eCommerce work. Odoo 18 allows you to configure products from both the backend and the frontend. In this blog, we’ll walk you through both approaches to help you understand how Odoo 18 simplifies the product setup process for your online store.
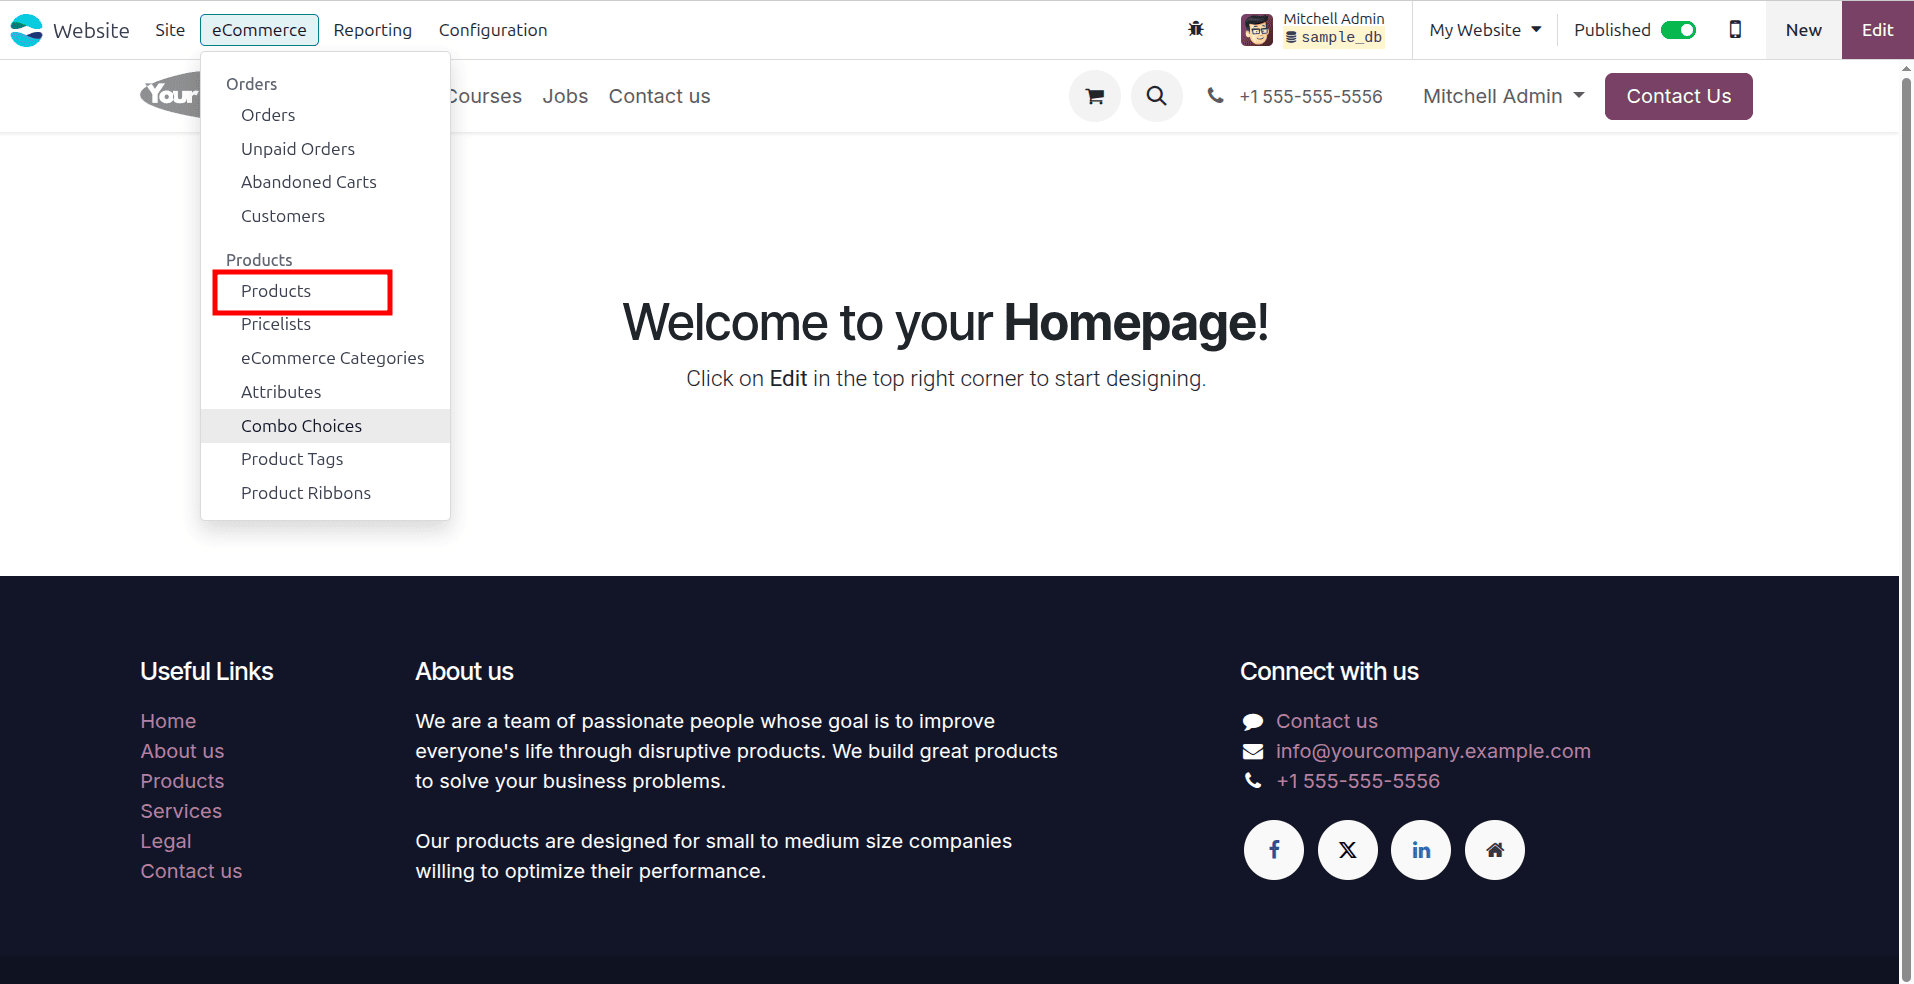
To set up the product from the backend, navigate to the Product option, located in the top menu bar of the E-commerce section within the Website module.
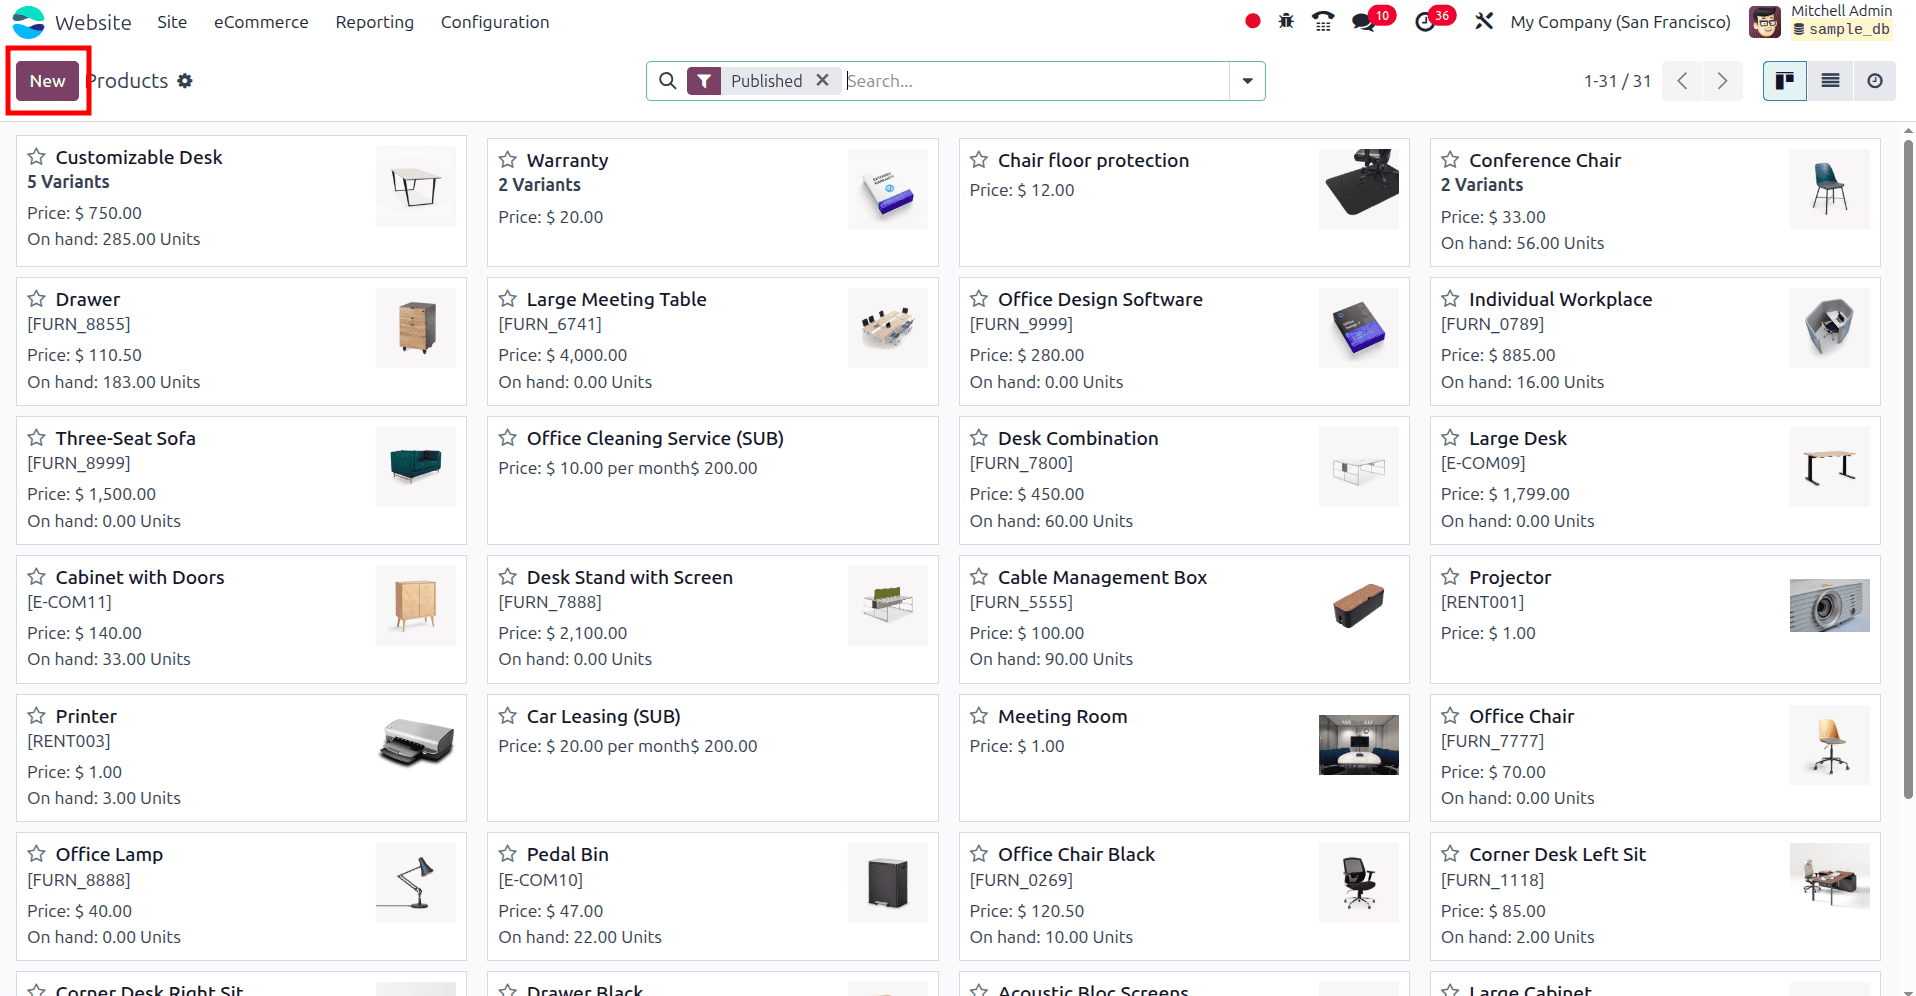
This process is almost the same as how we configure products in Sales, Inventory, Purchase, and other modules. When you want to create a new product, simply click the New button.
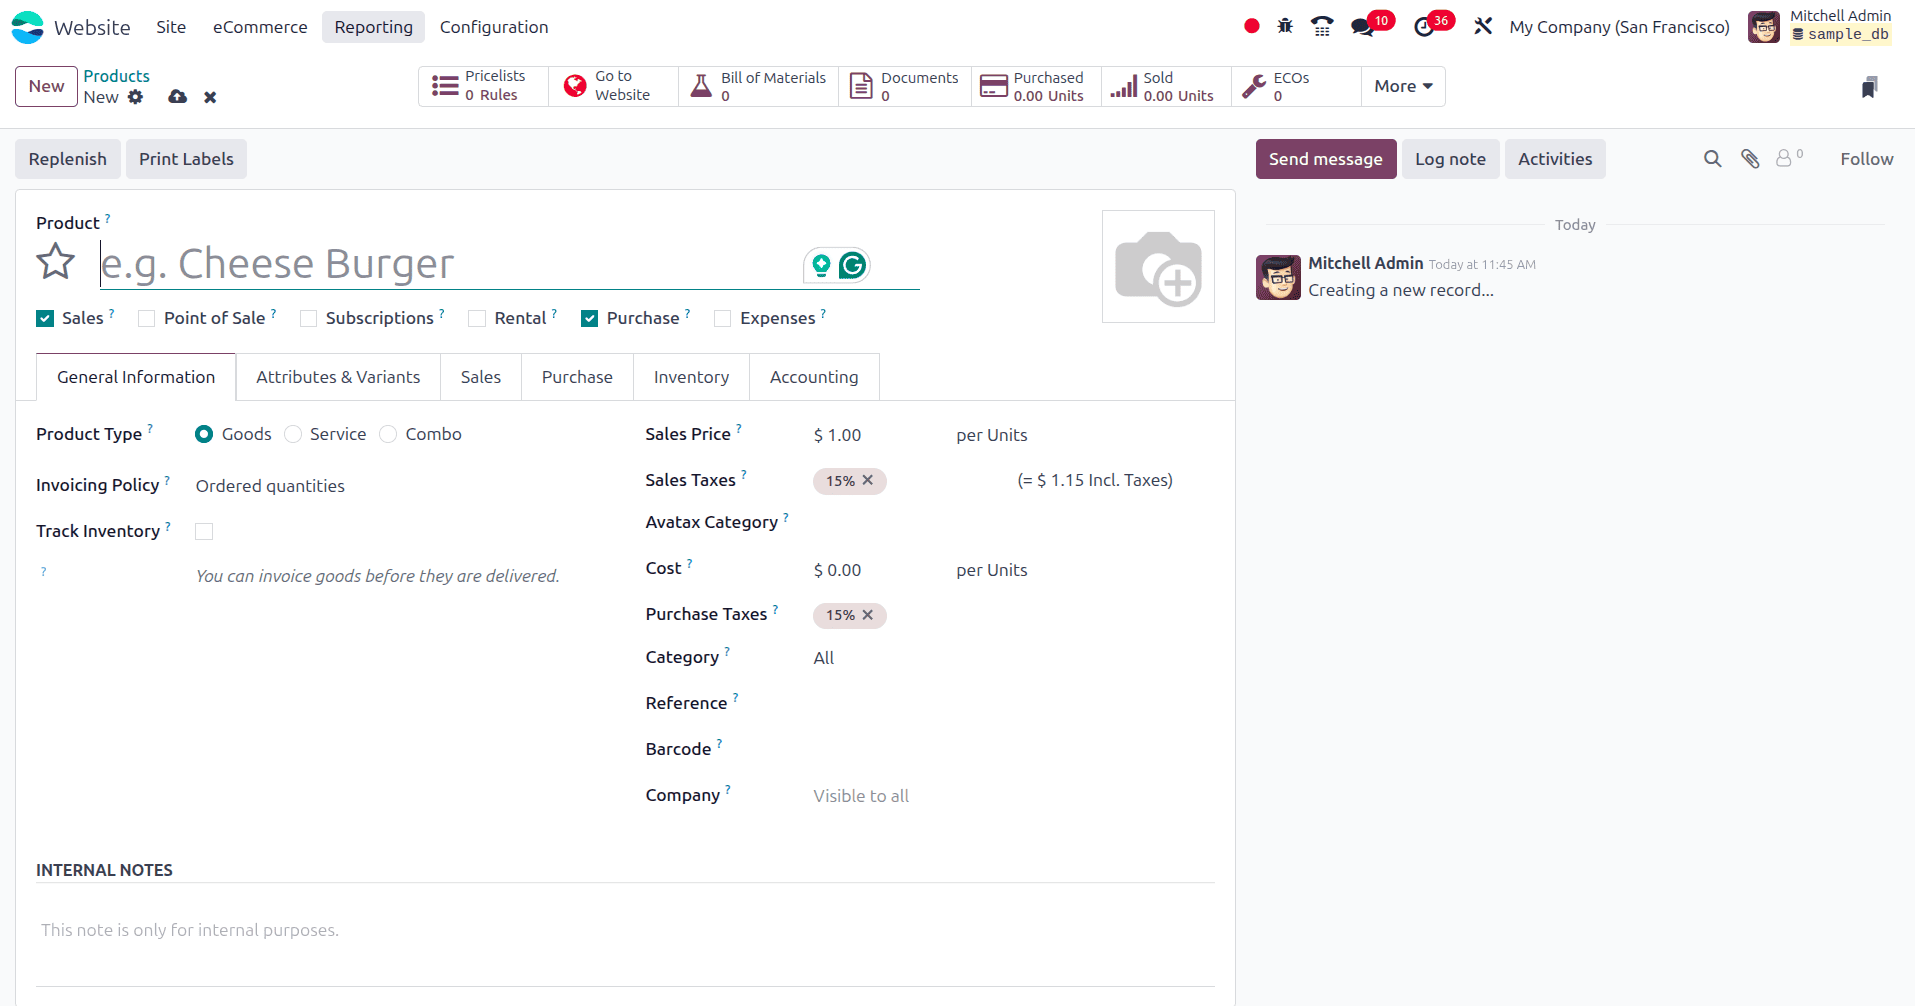
After that, you can fill in the product name and other important details, such as General Information, Attributes & Variants, Sales, Inventory, Accounting, etc.
The Product menu, which you find in the Website module’s main menu bar, is used to set up products from the backend side. This approach to creating products closely resembles the configuration process used in modules like Sales, Purchase, Inventory, or Rental, ensuring a consistent and familiar experience across Odoo 18.
When you want to add a new product to your e-commerce, just simply click on the New button. Then you can fill in the product name and other details like General Information, Attributes & Variants, Sales, Purchase, Inventory, and Accounting in the product form.

In the sales section, you can add optional products, accessory products, and alternative products for the main product that you are creating.
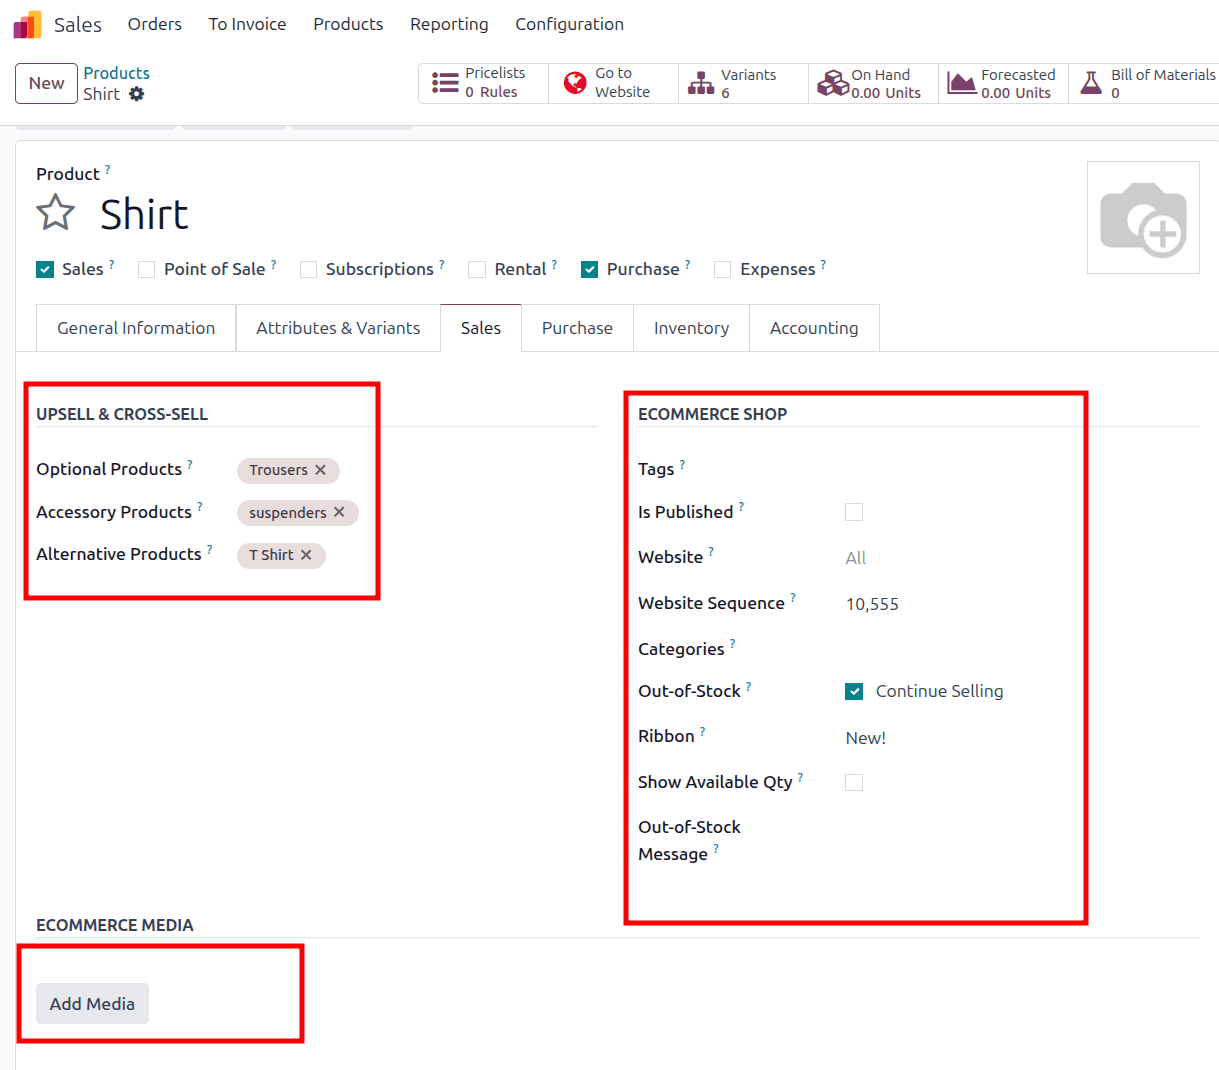
- Optional product: Optional products are suggested when the customer hits ‘Add to cart’
- Accessory Product: Accessories appear when the customer reviews the cart before making a payment.
- Alternative Product: suggest alternatives to the customers. Those products show up on the product page.
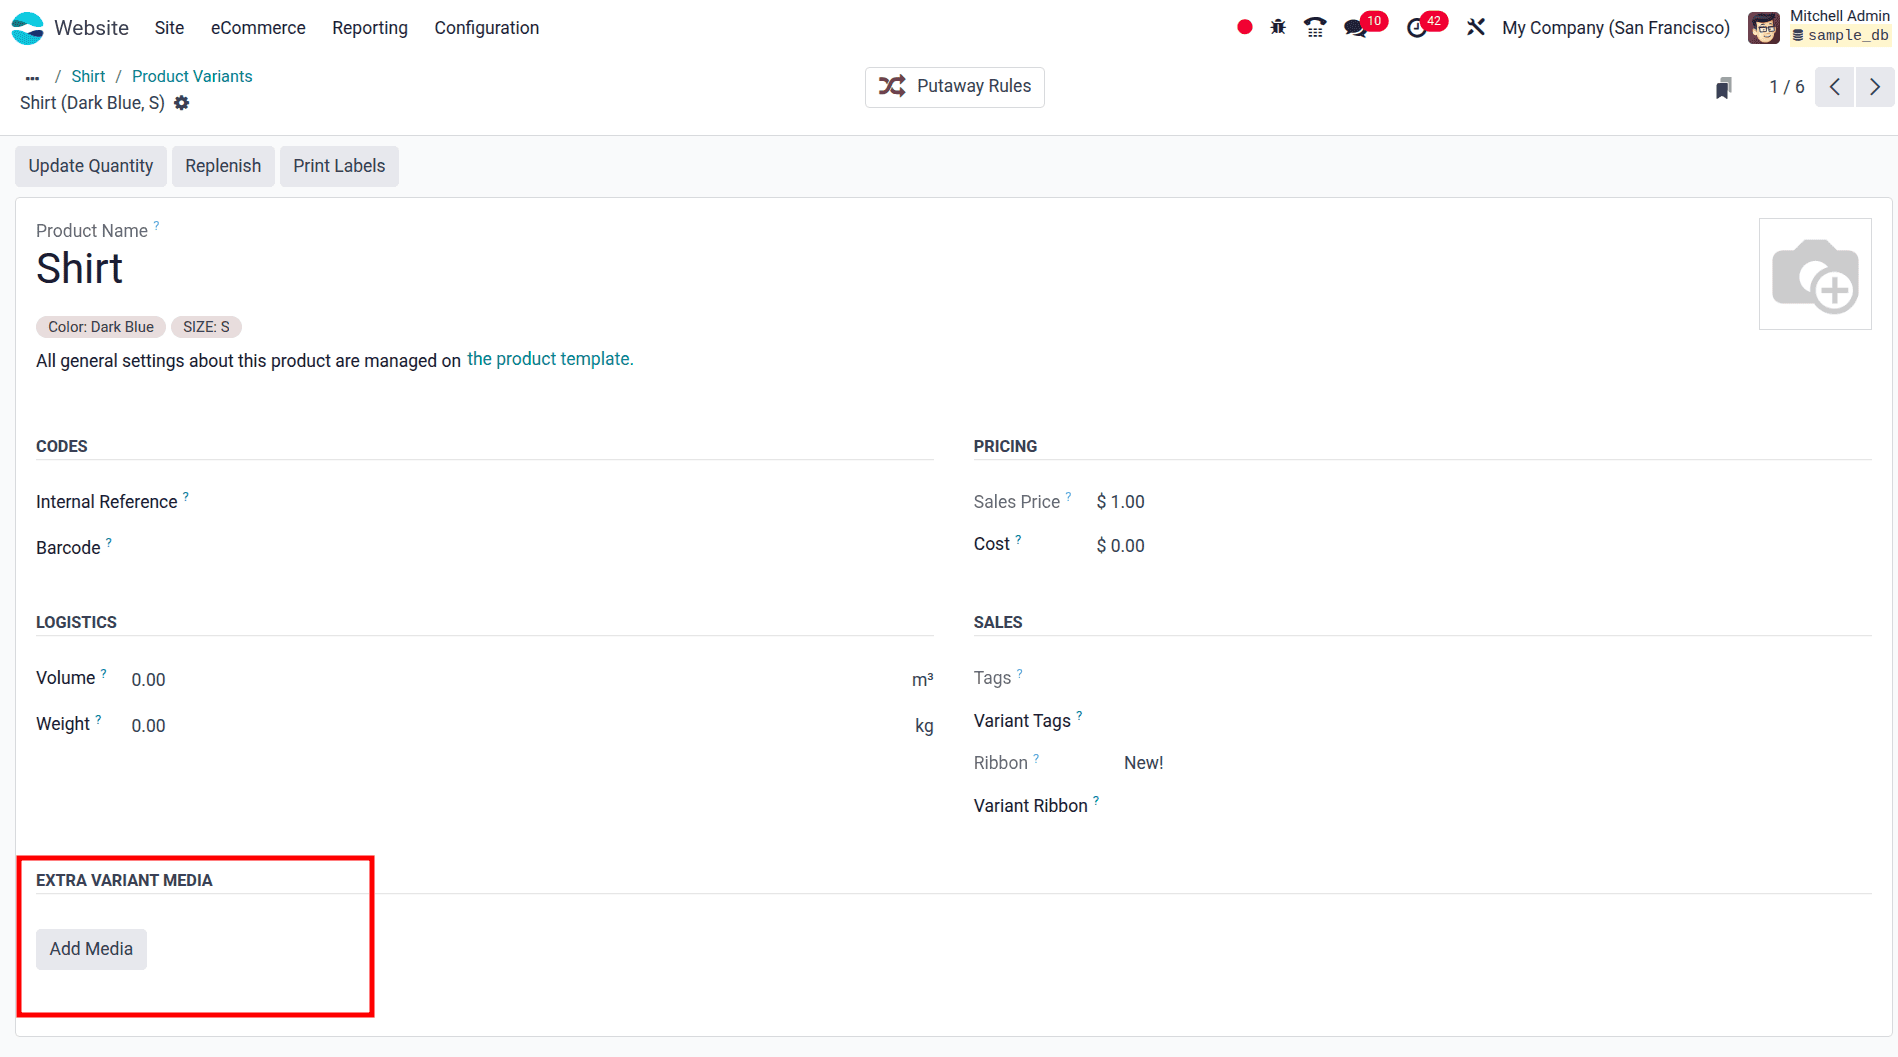
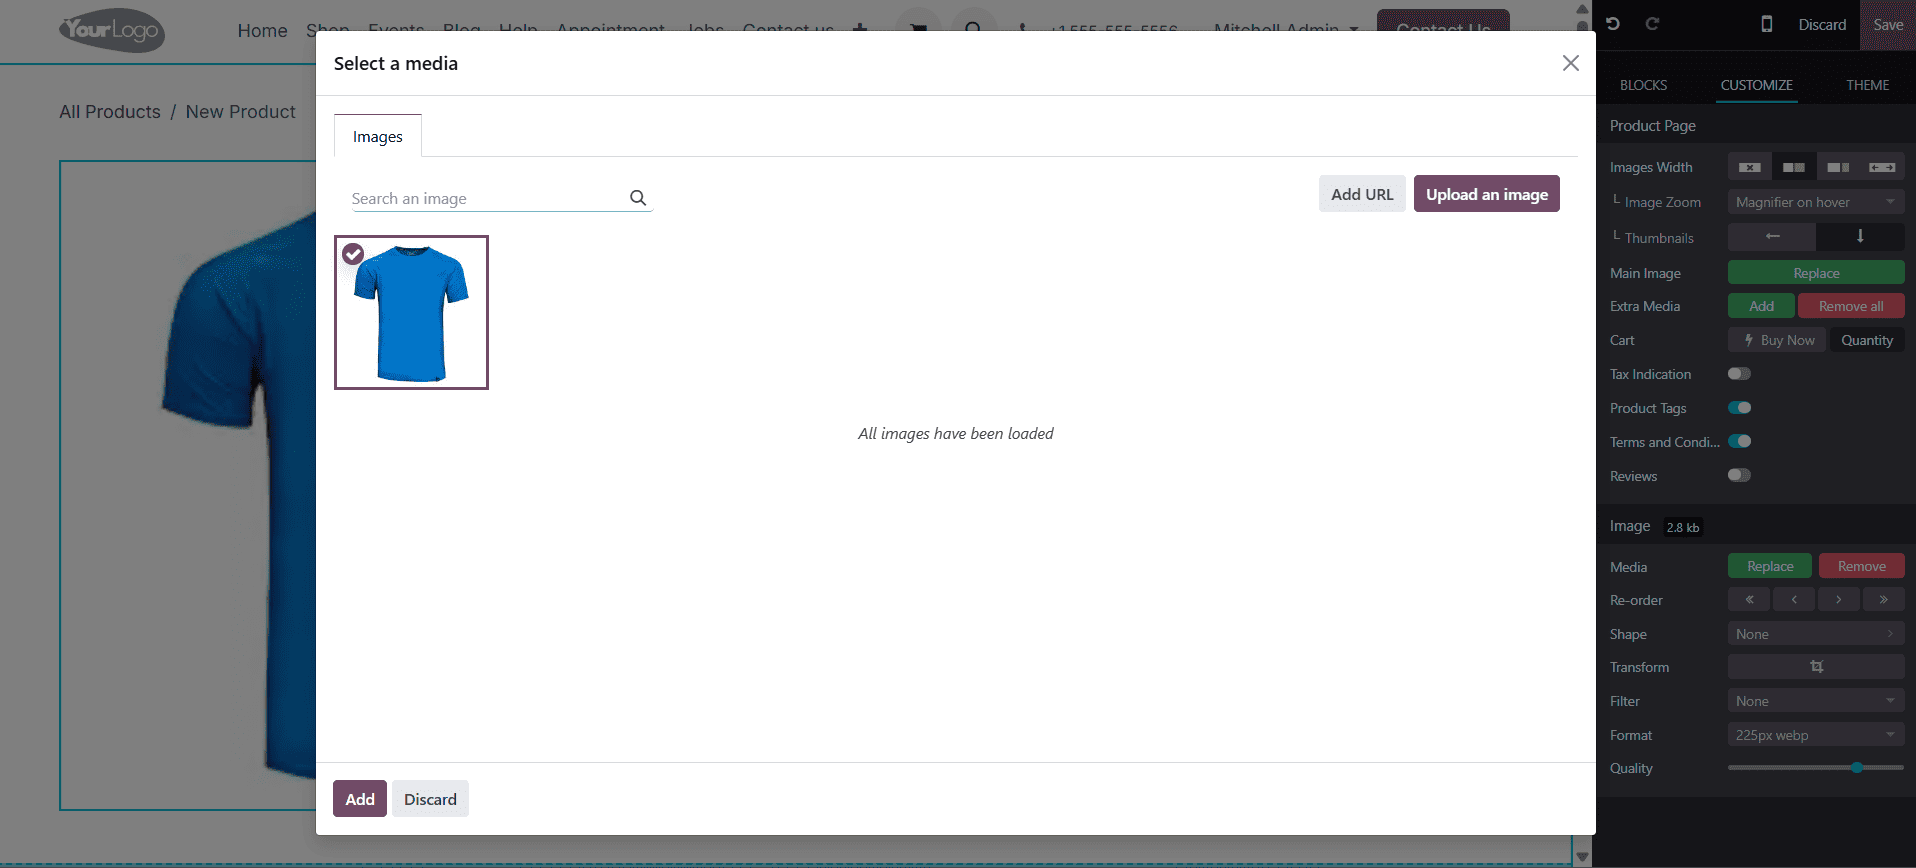
By using the Add Media option, we can add images for the product, and this image will be shown as the main image of the product.
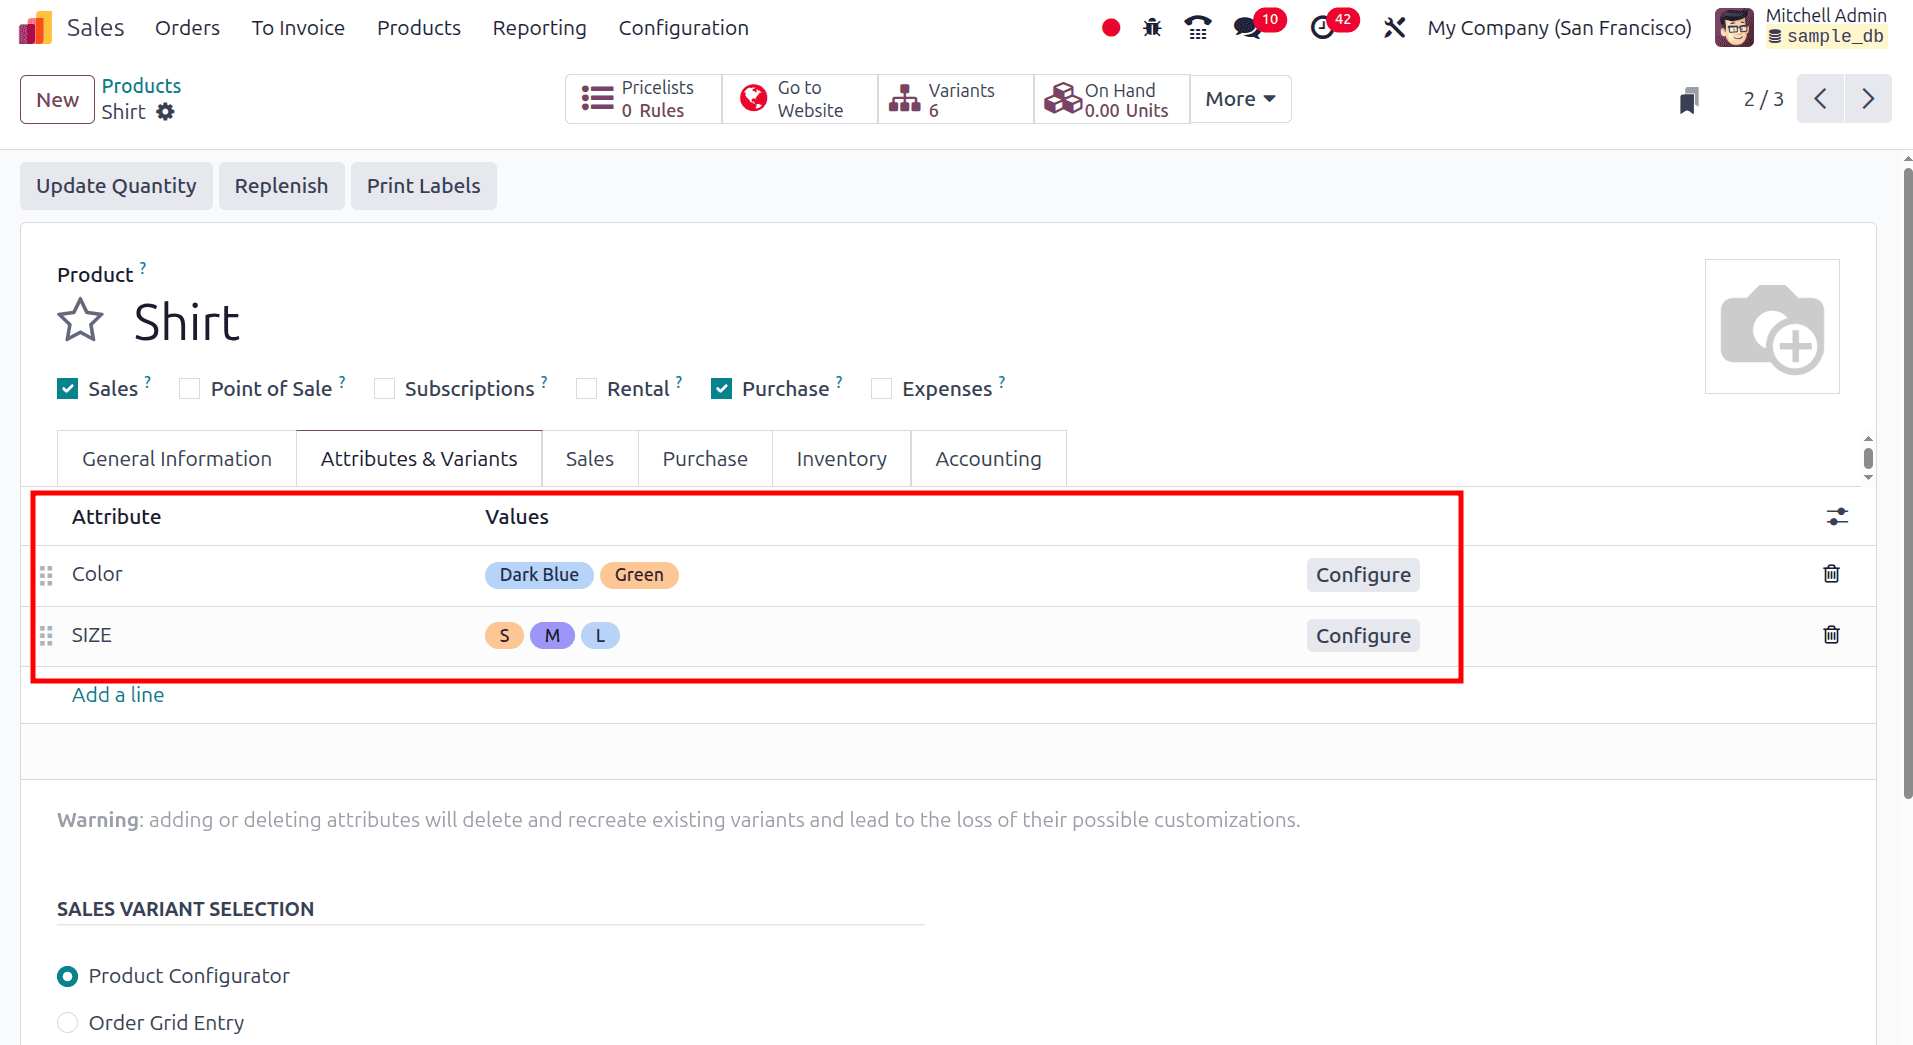
Similarly, when we move to the product variant and select each variant, we can add images for each variant using the 'Add Media' option. When we move to the Attribute and variant tab, there is the option to add different variants for the product. If you are selling a shirt, for instance, you may have the same shirt in several colours. In this case, you may include the particular colours in the additional variant media that can be found in the same section.
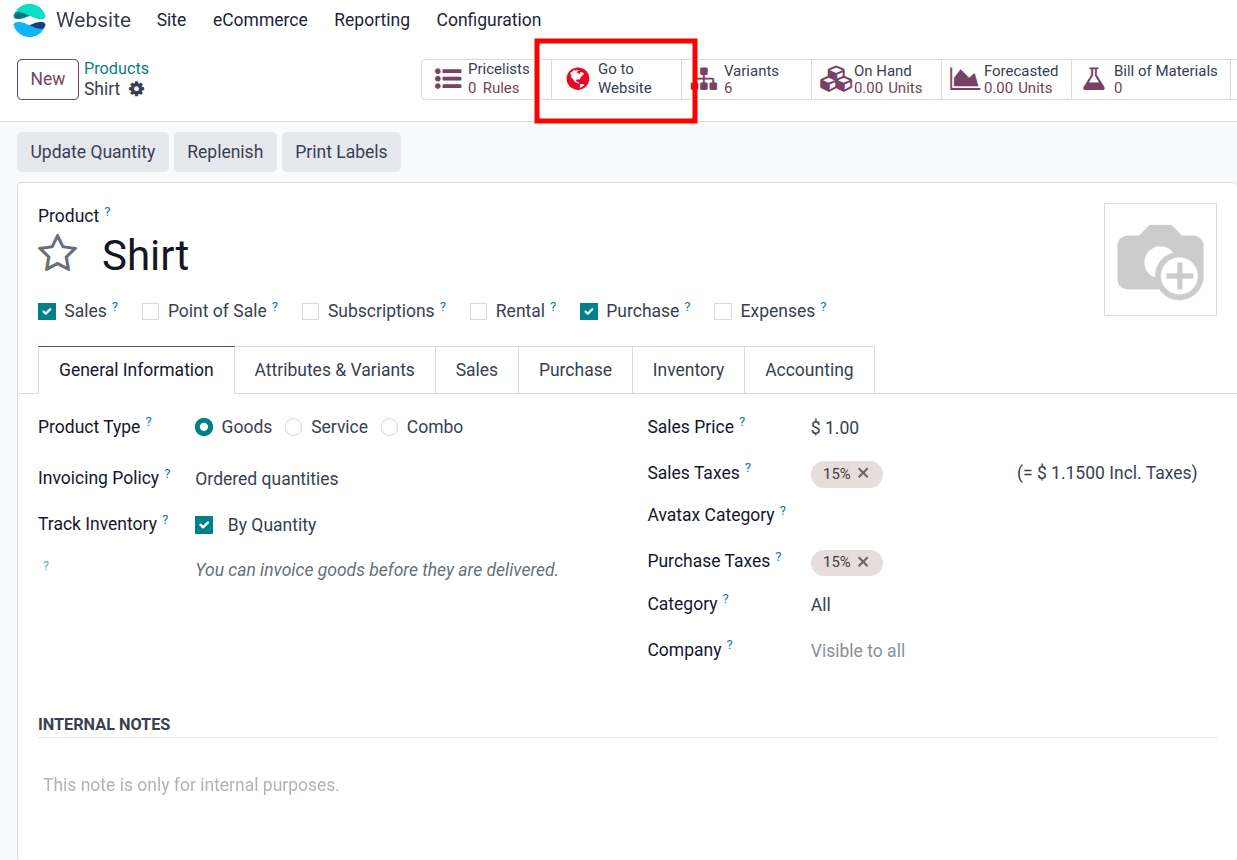
After adding all the required details for your product, you can publish your own customized product by clicking the Go to Website button on the top section.
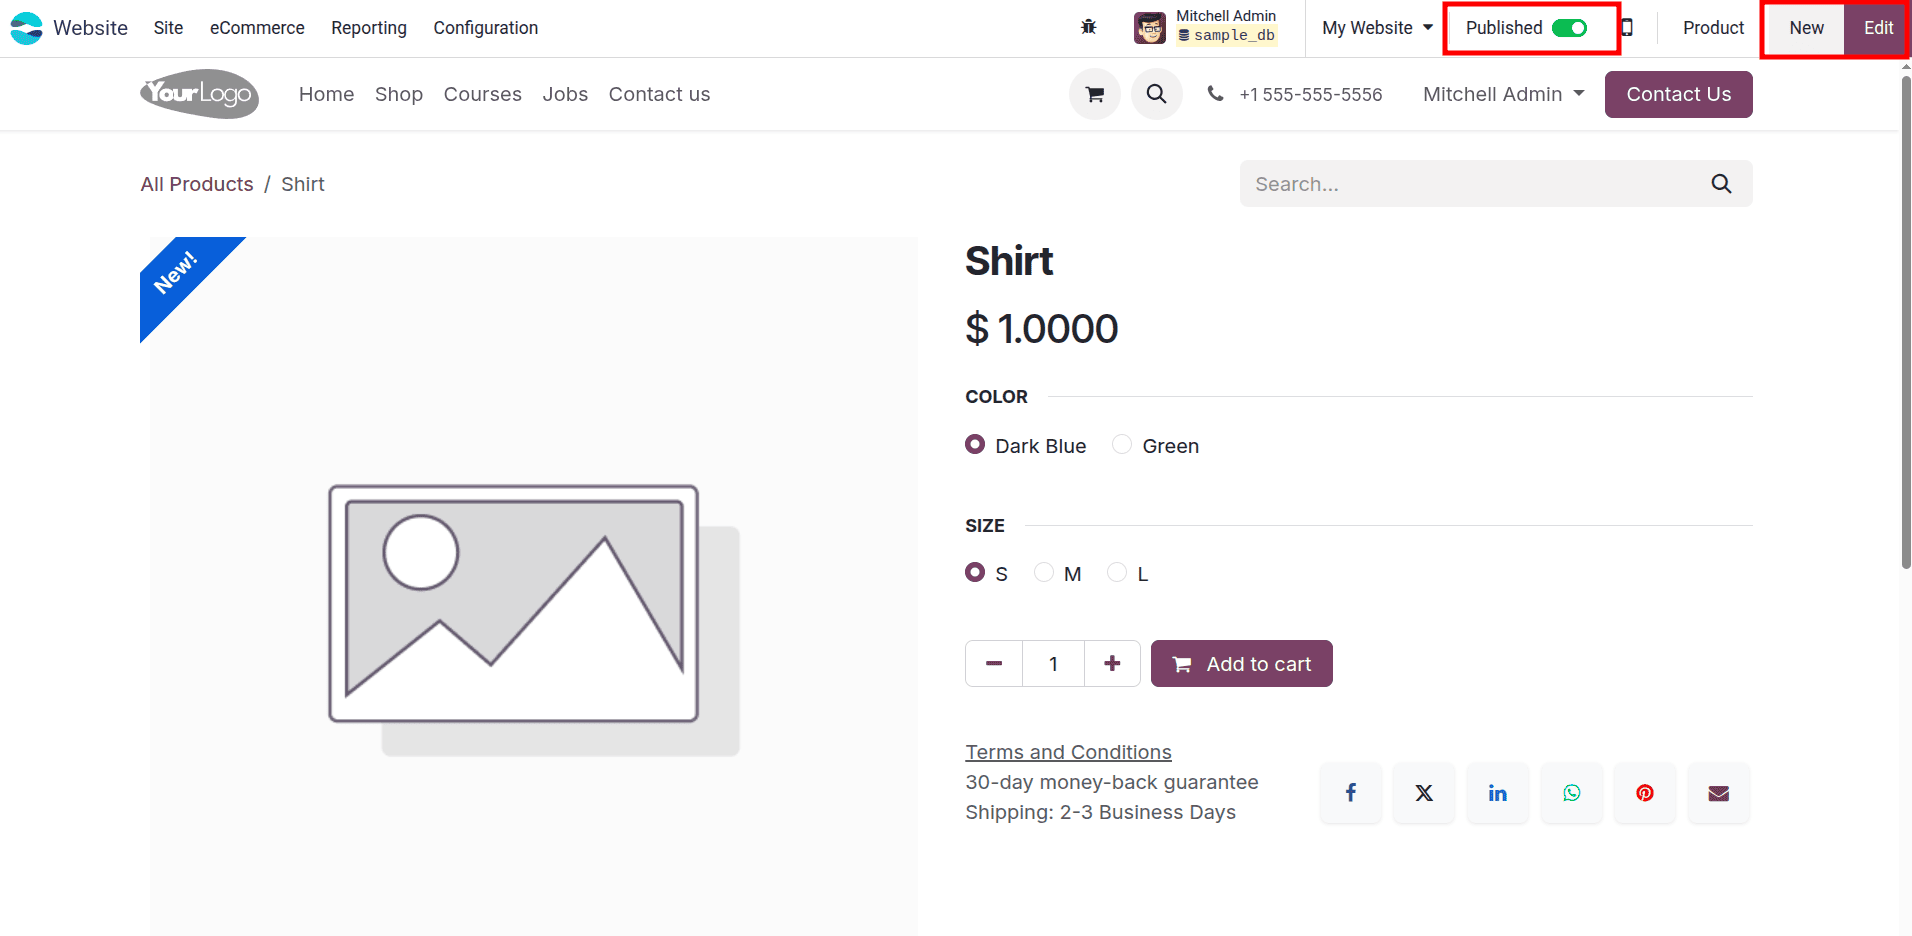
Then you will be redirected to the website, where you can see a button labeled 'unpublished'. By clicking the button, your product will be published on the website, changing to the published state. This button will be located at the top of the website, as shown in the image.
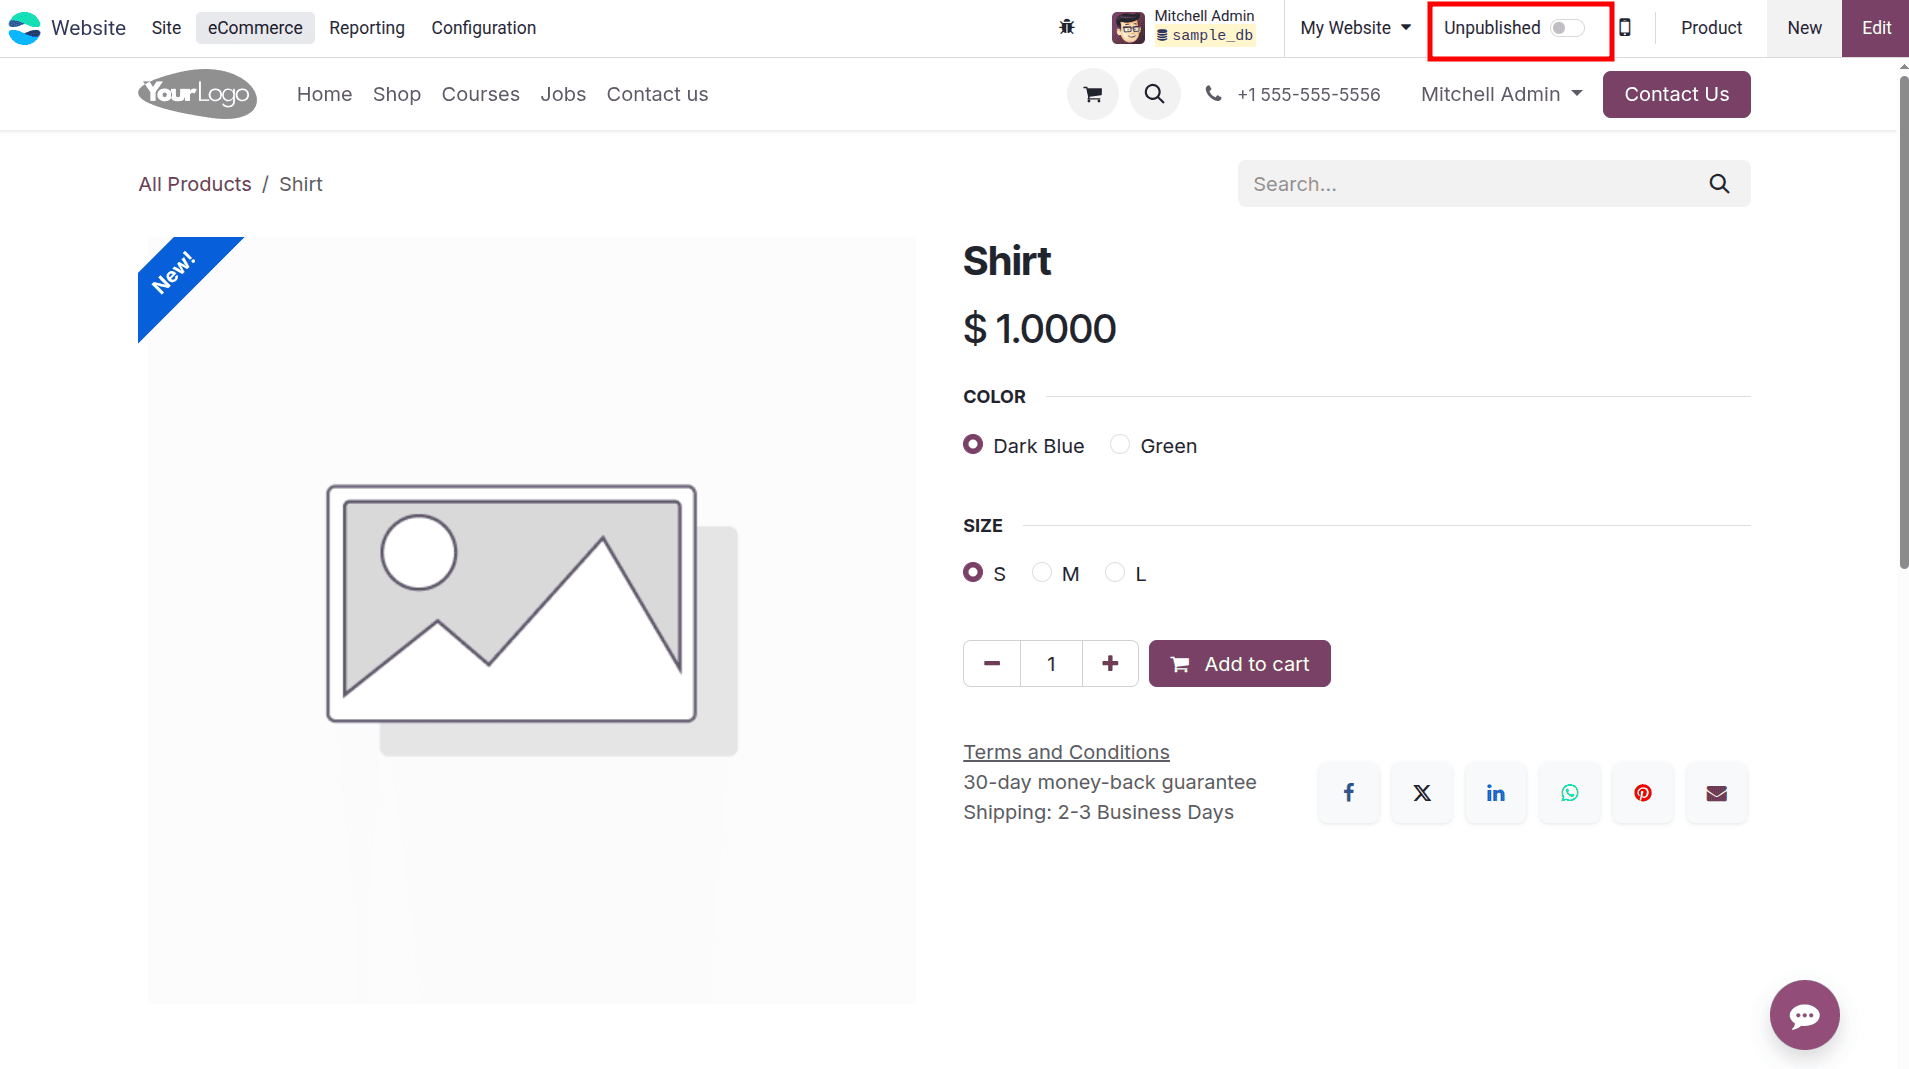
Once the product is published, the unpublished boolean with the colourless icon will change to green. There is an edit button, and by using it, we can add or replace the product image.
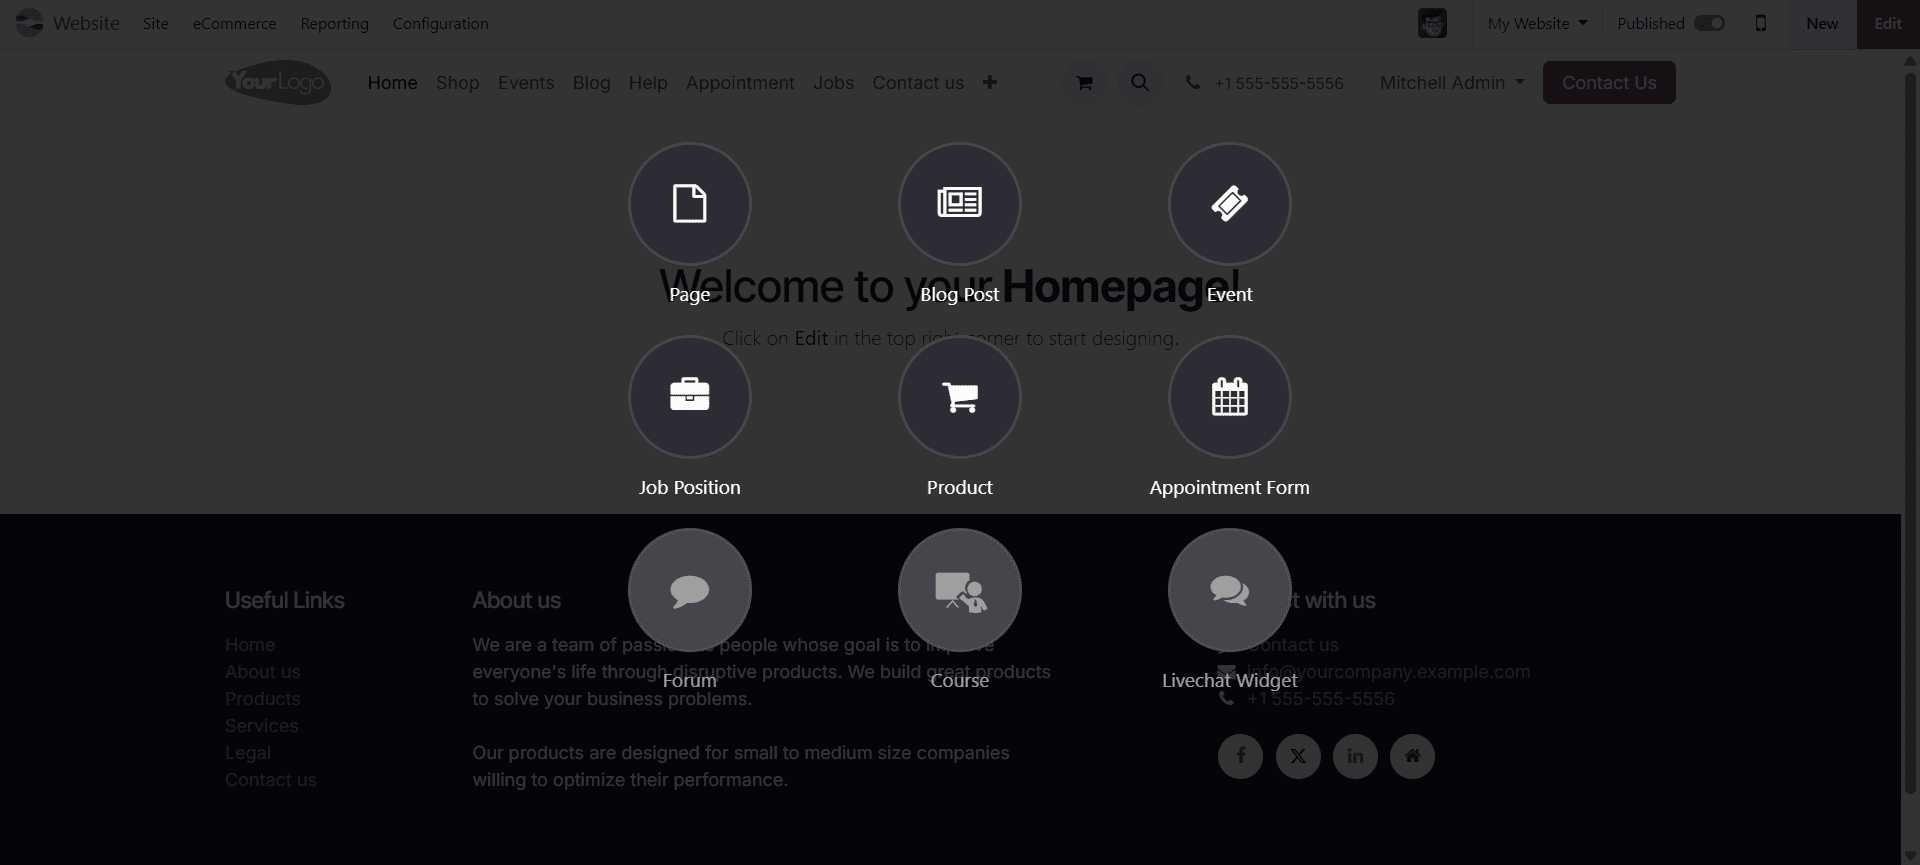
On the Odoo 18 website page, you can see a "New" button at the top-right corner. Clicking on it reveals a range of options, allowing you to quickly create and manage content such as pages, blog posts, events, job positions, products, appointment forms, and more, making website management seamless and user-friendly. For example, you can create a product by just clicking the product option in the new button.

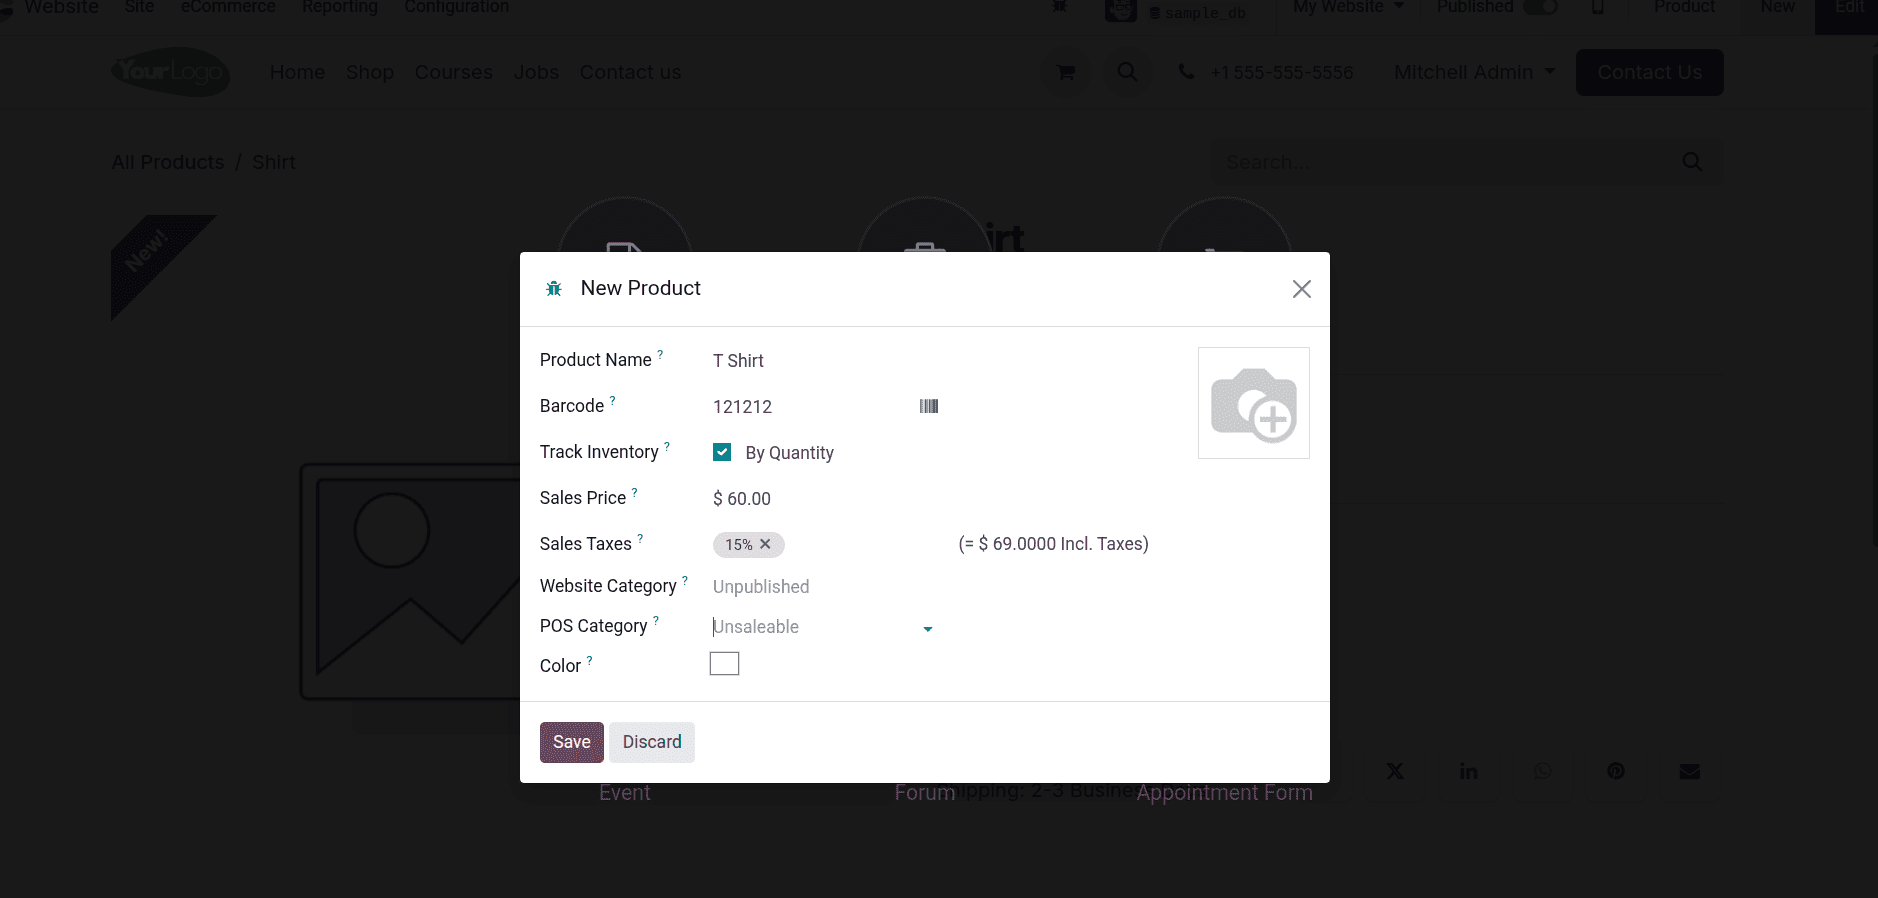
From there, you may create the product and add the product name, barcode, image, and category.
After saving the product, you can use the snippets displayed on the website to modify them as needed after publishing your product.
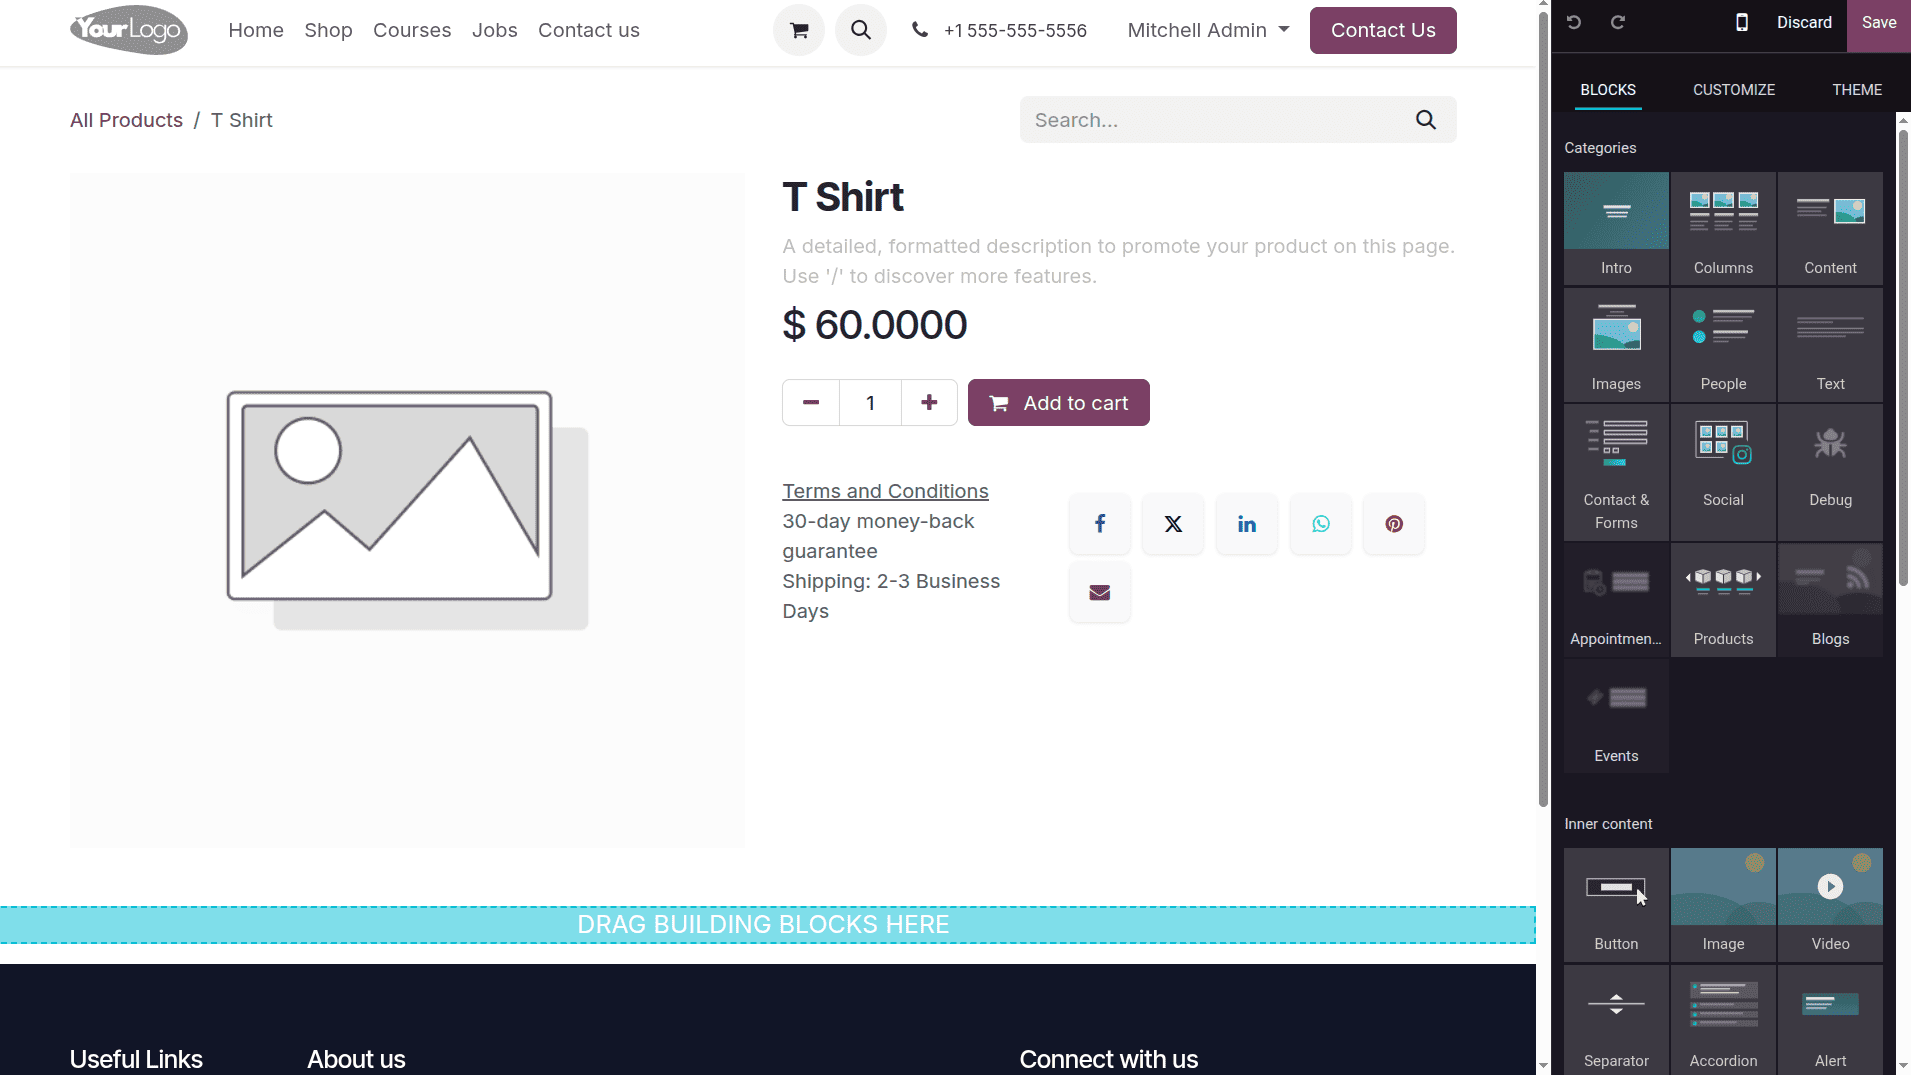
By double-clicking in the space for the product image, you can add a new image for your product.
From the backend, you can further enhance the product by adding more details such as attributes and variants, setting up shipping policies, configuring packaging options, managing accounting settings, and defining other sales-related information to ensure the product is fully optimised for your eCommerce operations.
These methods make it simple to develop and modify a product on the website to meet your requirements. A user can conveniently add a product to an e-commerce page from either the front end or the backend interface. That's why Odoo 18 is more reliable and easier to use than other ERP systems currently available.
To read more about How to Configure Products for eCommerce with Odoo Website, refer to our blog How to Configure Products for eCommerce with Odoo Website.